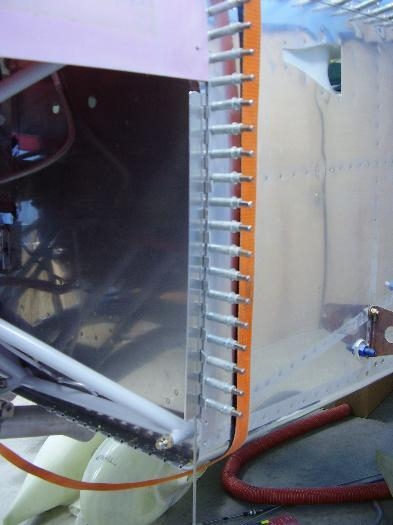
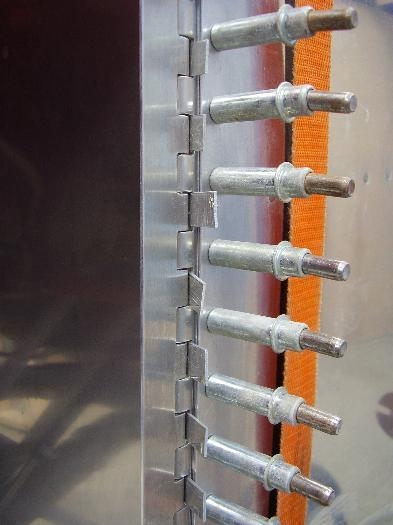
Brief Description: Setting the side cowl hinge pins
This step continues with setting the hinge pins for the bottom cowl. One thing that I notices after setting the bottom hinge pins was that I could see daylight through the gaps in the hinge pins. Although I decided this was okay for the bottom, I did not want to be able to see through the side hinges after assembly. In order to avoid this, I used a .032" safety wire as a shim when I clecoed the back half of the hinge to the fuselage. The shim went between the cleco clamp and the front edge of the fuselage skin. I also drew up the front edge of the hinge to the back edge of the cleco clamp. This caused the hinge to be brought forward by about .030 which will block light going thgouth the hinge when the cowl is attached. It offsets the centerline of the hinge just a little more so the light won't shine through. I drilled the holes for the hinge and the spacer that is needed between the hinge and the firewall. After countersinking and dimpling, I reassembled the hinges and forced the shimes in the hinge gaps as before. I set the rivets with the shims in place so that all play would be removed from the hinge pin. When done, the hinge pins came out with no binding at all.