Brief Description: Installed Falperons to wings/Stabuilator to tailco
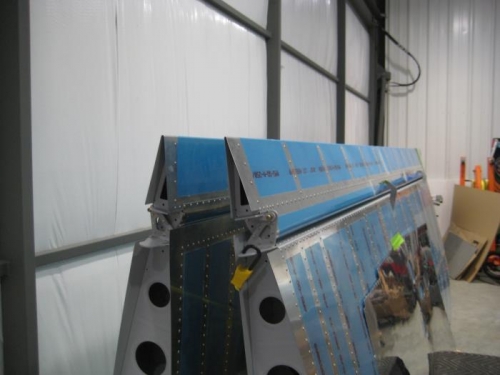
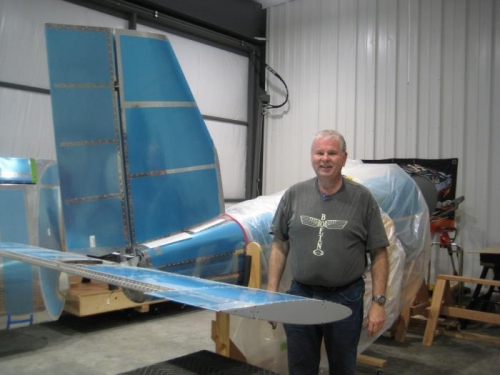
Completed step 6 page 18-06: Installed rod-end bearings threaded into the A-1206 Pivot Brackets as shown in Figure 2. Applied a thin film of Loctite to the first third of the threads of each rod-end bearing before installation into the pivot bracket. Completed steps 1-3 page 30-04. Attached flaperon to left wing with hardware shown in Figure 1 – Repeated installation of right flaperon on right wing. Since my friend Dave Cornog was in town we decided to also tackle the installation of the stabilator to the tailcone assembly. We found this to be a challenging activity with the limited access. Several of the washers that I had glued to the inside of the brackets fell off as we tried to position the stabilator. We ended up setting the unit exactly at the right orientation on several tables so that as we pulled the tailcone into position we got almost perfect alignment. We re-glued several of the washers into place after checking all of the clearances with a micrometer scale. Ended up with all An960-416L washers on each side of both brackets that interfaced to the bearings. We were able to the carefully reposition and installed the AN4-12A bolts with washers into the bracket nutplates per Figure 2. Tightened until the bolts were snug against the brackets. This operation would have taken considerably longer without the help of my friend.