
|

|
|
|
Johns Web Site
|
Date: 4-24-2016
|
Number of Hours: 5.00
|
Manual Reference: 21-16/21-17
|
Brief Description: Bottom Skin Installation and Reiveting
|
|
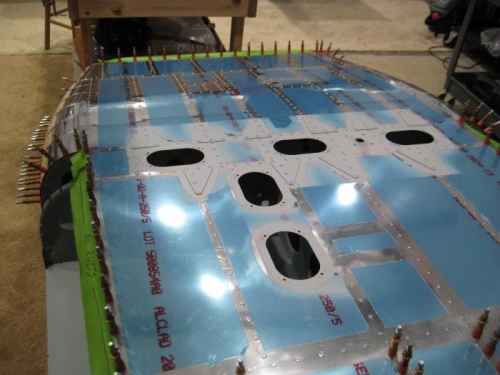
Completed step 5 - Reached through the openings in the sides of the fuselage or through the access holes in the F-1276 Bottom Skin, then clecoed the F-1204Z-L & -R Bottom Stiffeners to the bottom skin as shown in Figure 1. The hole in the vertical flange of the bottom stiffeners located the front of the part. Completed step 6 - Clecoed the F-1268A,B,C,D, & E Doublers to the F-1276 Bottom Skin, to the F-1204Z-L & -R Bottom Stiffeners, and to the F-1204A & D Center Section Bulkhead flanges per Figure 1. Completed step 7 - Except for the holes indicated in Figure 1, riveted in place the F-1268A,B,C,D, & E Doublers, the F-1204Z-L & -R Bottom Stiffeners, and the F-1276 Bottom Skin using the rivets called out in Figure 1 with LP4-3 rivets. Completed steps 1 and 2 page 21-17 - Separated the F-1236 Step Attach Angles by removing the hatched areas shown in Figure 1. As shown in Figure 2, made the F-1236B-L & -R Outboard Step Attach Angles by trimming the flanges of two of the angles separated in Step 1 – made an error since I had trimmed the 1 inch dimension prior to separating the angles so two of the angles will need to be replaced!. Completed step 3 - Separated the F-1251 Nutplate Bracket into individual parts by removing the hatched areas shown in Figure 3. Completed step 4 - Machine countersunk the F-1251-L & -R Nutplate Brackets for the nutplate attach rivets called out in Figure 3, then riveted the nutplates in place
|
|

Bottom skin all clecoed in place
|
|
Bottom skin riveted
|
|
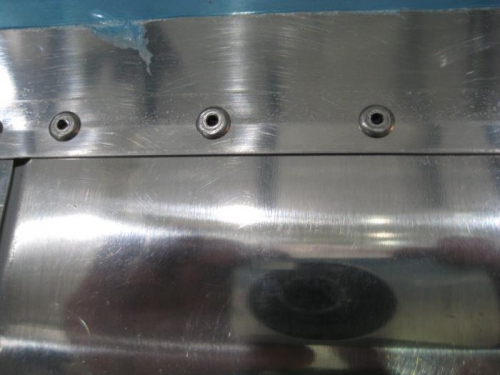
Broken edge transition
|
|
|
|
|
|
|
|
|
Copyright © 2001-2024 Matronics. All Rights Reserved.
|