Brief Description: Reworked Left Flaperon Trailing Edge Rivets
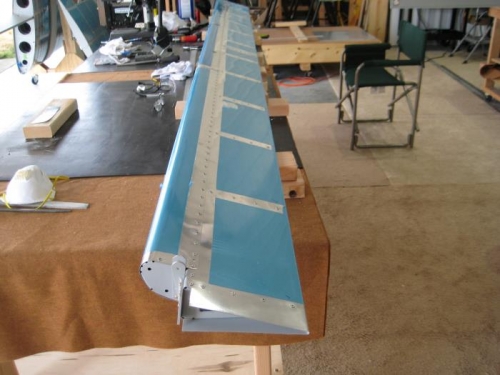
Long time from last work in mid June – too many summer activities. Reworked bottom trailing edge rivets on the left flaperon. During initial installation had issues getting the rivets to properly seat because of the interference with the rivets on the top side. I had used several different hand pullers to try and do the job correctly as identified on the forum for this problem area. I was not successful and all but one of that row of rivets was not seated properly. I had no choice but to remove the rivets and replace them. I asked Van’s for advice on how to put new rivets in correctly. Their advice was to pull slowly and keep pushing the rivet down as the length shrinks. I thought that was what I had done originally. I decided that maybe I was not doing them slowly enough based on some trials in some sample material. I spent considerable time removing the rivets due to the fact that I could not drive out the mandrels so had to carefully drill then work at chiseling off the heads then carefully tapping out the remainder of the rivets. After rivets were removed I reinstalled the LP4-3 rivets using the G75 cherry max puller which I seemed to have the best control with. I was successful in reinstalling all of them correctly (had to remove one and replace the 2nd time). Pulling slowly while carefully pushing down and aligning the rivet was the technique that did finally work. Glad this was done and hopefully I can execute it the first try on the right flaperon. Started preparations for build of the right flaperon. Deburred and primed the A-1203 spar and A-1204L7R outboard nose ribs.