Brief Description: Installed clevis on the trim motor
Completed steps 1-5 page 11iS/U-07.
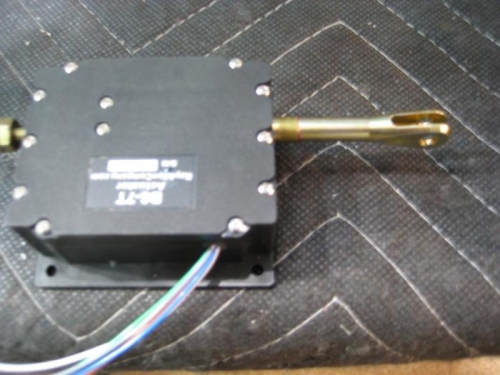
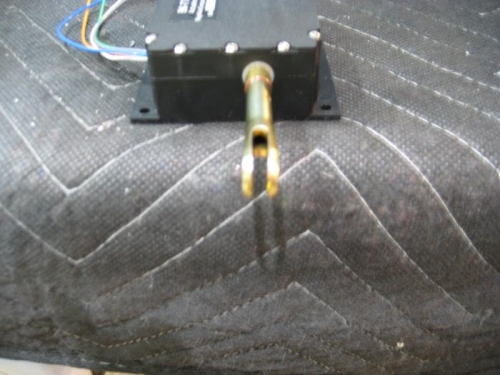
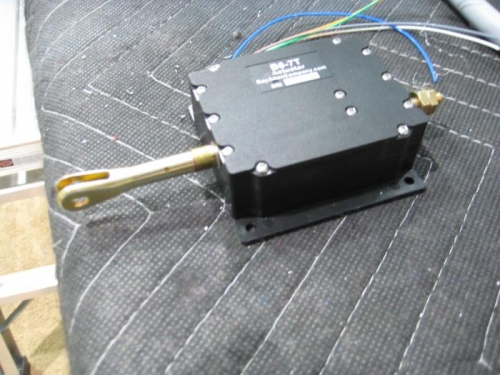
Step 1: Fabricated the Clevis Rod End Alignment Template shown in Figure 1 from any thin, stiff material such as cardstock. Step 2: Installed the BUSH-BS.188X.313X.222 and AN665-21R clevis rod end onto the ES MSTS-B6-7T-165 Pitch Trim Servo shaft per Figure 2 with the clevis rod end just in contact and snug with the bushing. Using the Clevis Alignment Template shown in Figure 1, checked that the angle of misalignment between the clevis and the final installed position of the clevis is less than 15°. The bushing was modified using the instructions in Step 3. Step 3: Completed the following step if the clevis has more than 15° of misalignment before reaching the correct final position or theclevis rotates past the ideal position. Tightened the bushing into the chuck of a drill press. The bushing must be square to the table of the drill press. Lowered the bushing to the drill press table and check that the bushing is flat against the drill press table. Held a piece of sandpaper on the drill press table. Set the drill press to low speed then slowly lowered the bushing against the sandpaper. Only a couple thousandths removed will makes a 10° difference. Step 4: Installed two AN315-3R nuts onto the opposite end of the trim motor shaft from the clevis. perFigure 3. Jammed the nuts together. Step 5: Held the jam nuts installed in the previous step with a wrench to prevent torque on the shaft from being transmitted to the internal components of the trim motor. Installed the bushing and clevis onto the shaft of the trim motor with Loctite 271 per Figure 2. Aligned the slot in the clevis perpendicular to the bottom surface of the trim motor housing. Allowed the threadlocker time to cure as prescribed in the product instructions. Removed and discard both AN315-3R nuts