Brief Description: Control Horns and Counterbalance Arm
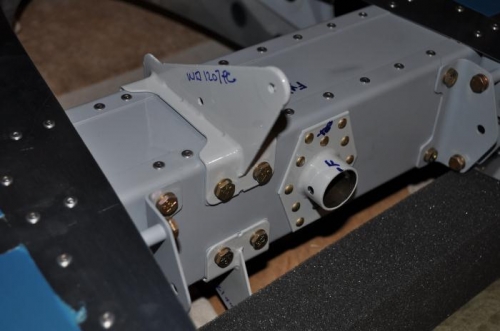
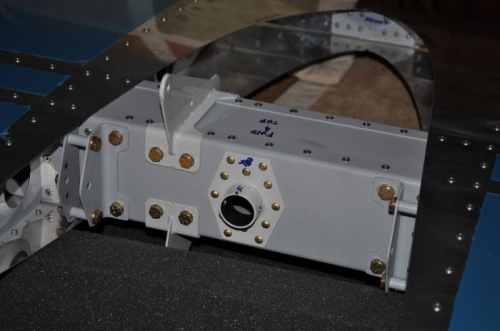
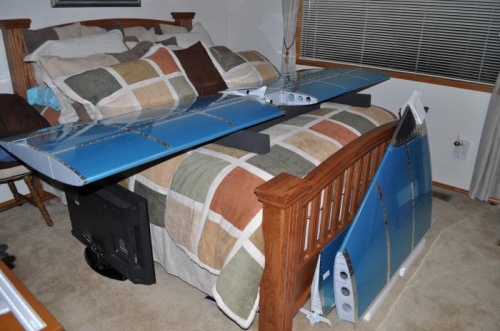
Completed step 1 page 09-10 – bolted WD-1207 and WD-1208 control horns to stabilator with assembly hardware as called out in Figure 1. Installed 0.032 inch shim on each horn on front side of box to fill slight gap as approved by Van’s per email. Shim was made to fit flush in size to face of control horns. Torqued bolts to 25 inch pounds. Had to start a tap in nutplate for upper horn aft left side to get bolt to start. Started tap in about 1 and ½ turns and then was able to start bolt – tightened until torque value reached then backed out 1 turn and retorqued. Completed step 2 – installed counterbalance arm checking bolt hardware for fit. Completed steps 4 and 5 installing counterbalance weights. Removed counterbalance arm from stabilator and weights from arm to prime weights. Stabilator is now completed – moved to spare bedroom for safe storage.