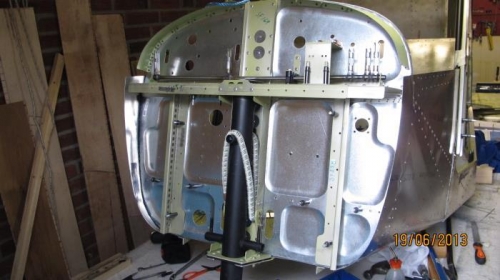
So, as the alignment of the cockpit structure is important I took some measure to check it both diagonally -ok, no more difference than a few mm; and the distance between front and rear wing attachment - ok, 729 mm as recommended. Then I fixed everything with massive amounts of tape and off I went to the column drill to get perfectly drilled holes. Anyway, that was the idea. Now, anyybody with normal brain standard realize immediately that it is impossible to orientate a structure like the one in the picture below before a fixed column drill to drill any hole at all. It is not doable. Still I tried for an hour or so but gave up and drilled all the 4 mm holes with my handdrill. Fortunately, the tape fixations worked well and the position of the holes turned out to be Ok.Pew! It's an interesting manual! There is no mentioning that you need to remove the cockpit structure in order to attach the instrument panel skin. But before doing that you need to install the engine mount attchments SF324/323. So, the recommendation are; install the cockpit structure but with the instrument panels skin attached and let it hang loose so you can use the free space to install the engine mount attachments - which is a bit tricky if you have big hands.
Correct front gear tube & bungee
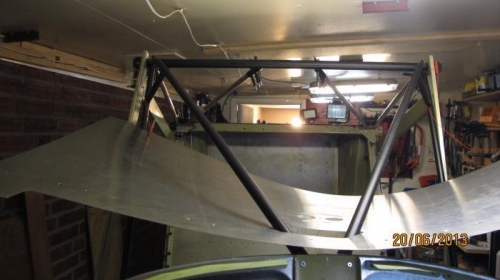
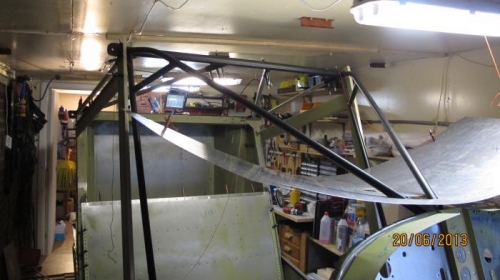
The cock pit structure in place & instrument panel skin attached