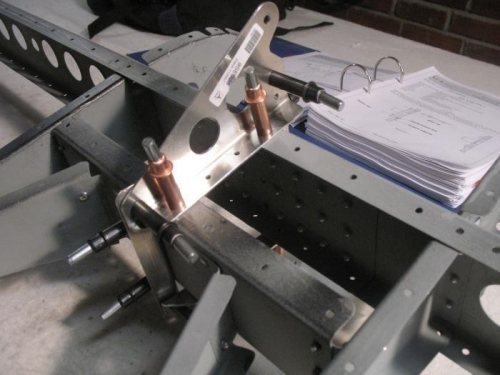
Since the EAA inspection of the elevator framework went well it's time to continue. I spent a lot of time trying to figure out how the central hinge should be attached before rivetting the skin on. Also, there were moments when I was unsure what was up and what was down and what was left and what was right. As the manual sometimes shows the framework from the front and sometimes from the back and upside down it would be a good idea to mark the pieces "up/down/left/right" to simplify the construction. Anyway, sooner or later al becomes evident.
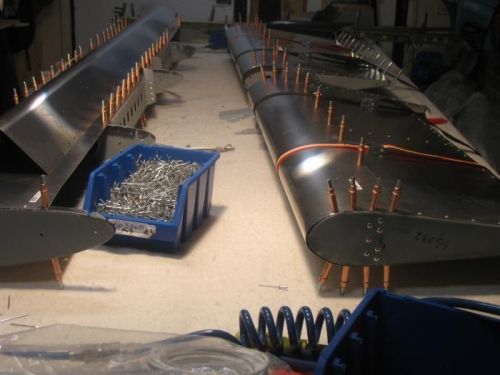
Like the stabiliser, the upper and lower skin was easy to rivet but the nose skin took a lot of careful bending before it was on place. It found it much easier when I used many straps and gradually tightened them starting from the center and working out to the ends and left them tightly strapped around the nose skin overnight to "mature". The following day the nose skin was rivetted without too much problem and without dents in the aluminium.
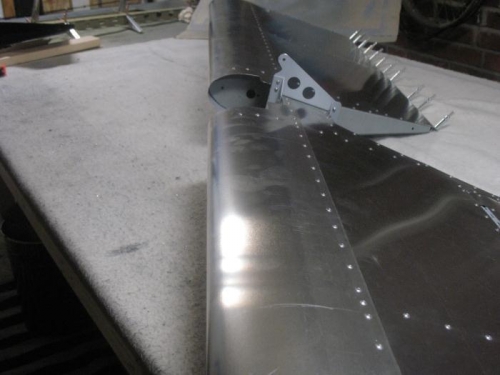
The solid rivets in the trailing edge has to await until I receive the rivet gun from Spruce aircraft.