- Set out and trimmed bottom pieces to suit - Removed forward engine intake manifolds (IO-360 engine) to provide clearance for fitting of bottom cowl - Rolled to suit nosebowl and firewall radii and installed cowl pieces to bottom rail and fixed into position on rails using J-Clamps and checcked for tight fit - Using three ratchet straps (front, centre and aft) fixed either side to engine/engine mount and lengths of channel to ensure straightness of panels tighten to achieve a taught alignment of panels and proper seating on nosebowl and firewall. - Checked alignment and drilled rivet holes on rail marked out laps with nosebowl and firewall and set out bottom joint lap to ensure that it was centred and drilled forward and aft rivet holes to set location. - Removed cowl pieces and trimmed forward, aft and bottom splice . Joined cowl pieces with earlier drilled alignment holes and set out double rivet row for 1 1/2" bottom lap splice. - Rivetted bottom splice and reinstalled bottom cowl for final check. Set out and drilled all rivet holes to fix cowl to nosebowl, rail and firewall.
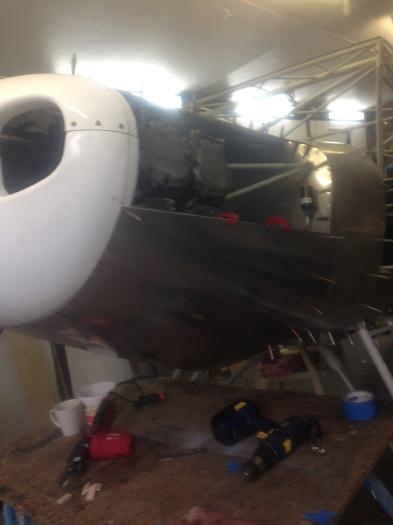
Bottom cowl piece temporaily installed on airframe
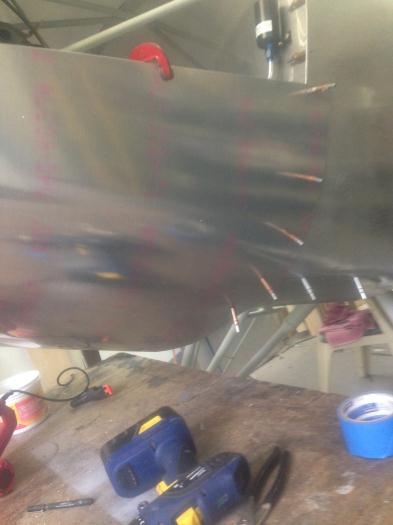
View of firewall lap joint
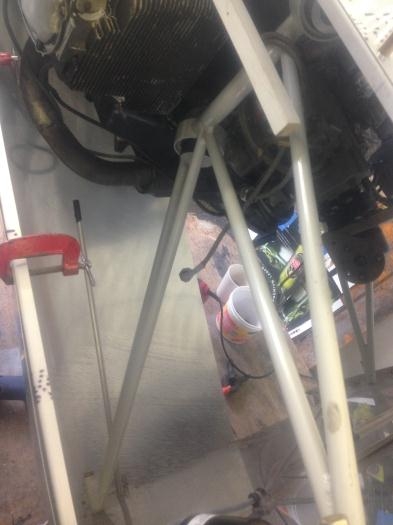
Inside view of cowl with forward intake tubes removed