Brief Description: Finished the landing light, almost
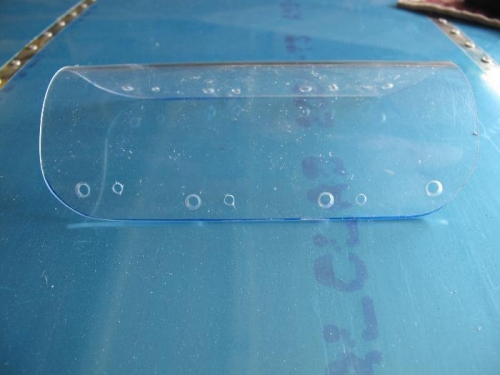
Next step was work on the landing light lens. There's lots of trimming work here, not obvious from the pictures, and I made a right mess of it. The hard part is Step 2 on Page 40-03. It is essential that you pull the lens tight against the inside of the wing skin while you match drill the holes. I did not pull hard enough on the tape straps allowing the lens to push away from the skin as I drilled it. The result was a gap at the sides when it was fitted. I moved the lens half an inch and drilled a second set of holes. The end result wasn't much better. Picture 1. I'm going to order another lens and have another go.
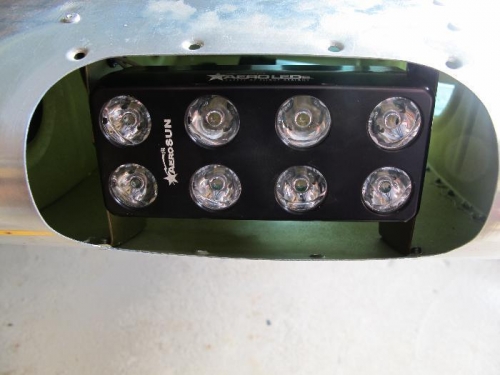
Picture 2 shows the light unit in position. Read the note at the top of Page 40-05! It suggests fitting the light unit to the brackets before riveting the brackets. I did not do this and regretted it. It is REALLY difficult putting bolts in around the sides of the unit.
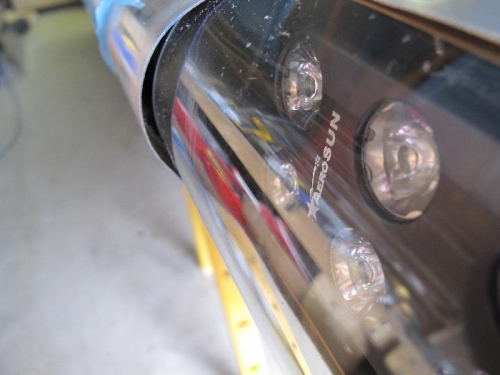
Picture 3 shows the lens in place over the light unit. As you can see I have a nasty gap which I am not happy with. So the lens came off again.