Having messed up one Flaperon Pushrod, I could only assemble and install the other one.
The pushrod has caps at both ends that need to be riveted on. It was quite tricky to drill holes into a curved tube without the drill wandering. Might have been easier with a pilot hole first, perhaps with the caps not installed. I'll know for next time ;-)
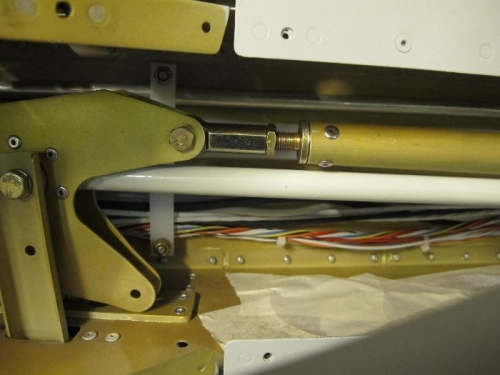
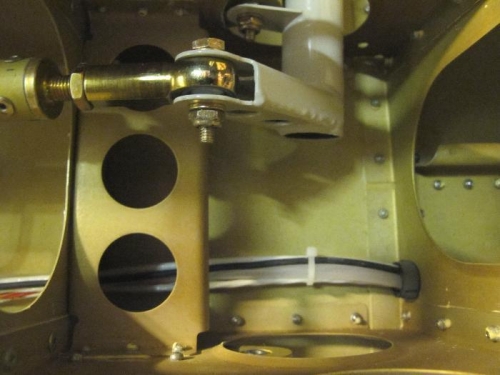
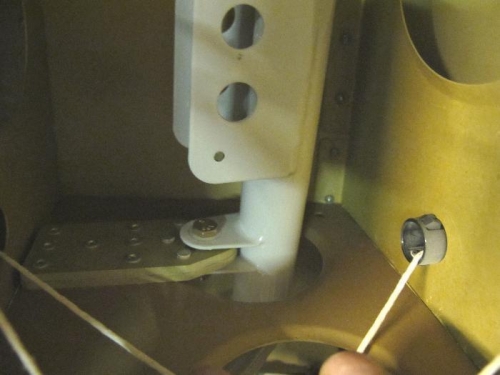
Once assembled the pushrod is bolted to the Flaperon Bellcrank. See Picture 1. It is also bolted to the Flaperon Torque Arm (Picture 2), which has just been bolted to the Bearing Brackets (Picture 3).
Few words but much more messing with superglue, washers, nuts and bolts. I have now spent two days putting in around 20 bolts!