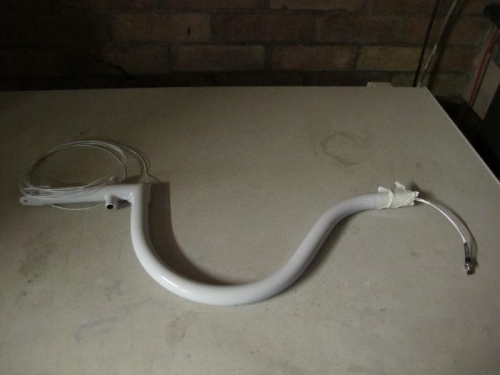
Challenging task number 2. How to get two wires down the sticks. For added fun you will see in Picture 1 a right angle bend. Better yet, just to the left of this is a transverse tube that crosses the main tube, leaving just two tiny slots inside for cables to pass through.
First step was to get a piece of string along the tube. This turned out to be not too difficult when blown through with an air line. Harder was pulling each of the two wires through with the string. One has a pin crimped on. I found the best solution was to tie the string 0.5 inches from the end of the wire then bend the end through 180 degrees. You still have to pull like hell, to get them through the "chicane", but the wires seemed to survive the ordeal.
I have not yet got "handle bar grips" so cannot install the sticks on the control column and complete the wiring of the PTTs at this stage. I've ordered a couple of rubber stick grips from Aircraft Spruce, but I may also take a look at a local bike shop and see what they have to offer. Stick grips is actually the first, and I believe last, essential item that Vans have not included in the kit.
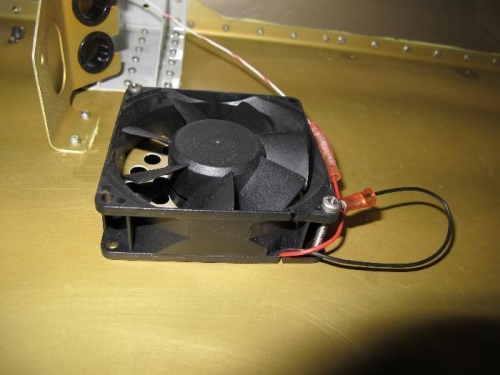
Picture 2 shows the red wire finally connected to the CPU fans. I had been leaving this as long as possible as these two wires are (currently) unsupported where holding up heavy D-sub plugs.
Will probably hit the 900 hours this week so, according to Vans, I should be finished ;-)