Brief Description: Installing the Wire Run Conduit
Next step is to install a Wire Run Conduit in the Center section Assembly. The plans call for cutting a 36 inch length of duct. Mine was 36 inches give-or-take. It's hard to measure as it stretches, but I don't think the dimension is critical.
You need to cut a 7/26 hole in the side of the duct adjacent to a hole in the floor of the Centre Section Assembly. This is just to the left of the centreline. Again, this wasn't easy to cut without crushing the tube, but I persevered with gentle pressure on the pillar drill. If I could have found a piece of dowel to insert into the tube, that would have been ideal.
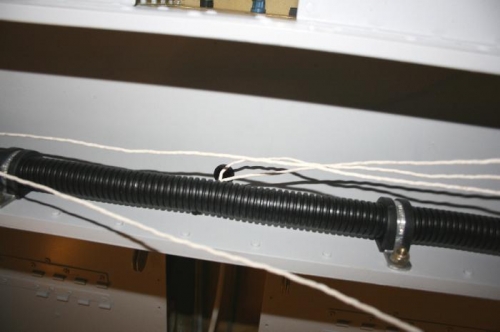
The conduit is held in place with four large Adel Clamps. I hate these things. It is not easy to compress the ends together while trying to insert a bolt on the screw. Anyway the job was finally done. Picture 1 shows the hole in the Centre Section Assembly and strings coming out of the fabricated hole in the conduit adjacent to the hole.
*There are many published ways to compress Adel Clamps in order to insert the screw. One way is to use locking wire to hold the two ends together. Another is to use medical locking clamps, I forget the proper medical term.*