Getting sick of sanding. I think applying epoxy with a paintbrush was a big mistake. Goes on much too thick. Other folk have used foam brushes, indeed I bought a foam roller with the fibreglass stuff, canot think why I didn't use it.
Also putting black dye in the epoxy was a mistake for more than one reason. It's depressing showing how little you have achieved with the sandng when you never get back to the base material. Worse, it removes the translucency which hinders the build in some places.
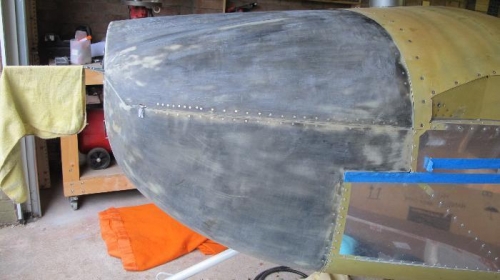
Picture 1 shows progress with the cowl. You can see the surrender flag is flying on the pitot tube ;-)
I downed tools on the sanding, and did something a bit more creative. First step was to assemble a cowl bottom bracket. Holes in the cowl, and nutplates in the bracket. No pictures, unfortunately. Picture 1 shows what a crummy job I did with drilling the holes.
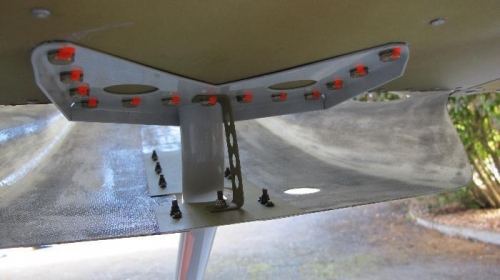
Picture 2 shows the bracket installed. This is underneath the plane looking forward into the bottom of the cowl. You can see all the nice orange spots where I had torqued the noseleg attach bracket. Hope 13 bolts doesn't prove to be an unlucky number!