
|

|
|
|
Keiths Web Site
|
Date: 3-9-2010
|
Number of Hours: 7.00
|
Manual Reference: P 34-02, Step 2
|
Brief Description: Starting on canopy frame
|
|
With new tools, I was able to torque the undercarriage bolts today. Not easy single-handed, as I could not reach bottom and top simultaneously. I found a way to jamb an adjustable spanner on the head and then tighten the nut from underneath. At this point I realised two undercarriage brackets inside the cockpit were only primed and not painted grey. They stick out like a sore thumb, to me at least. I'll have to consider partially unbolting the fuselage if I'm going to paint these parts. A task for another day methinks.
First step on the canopy work was to trial fit the canopy frame - a big welded aluminium assembly. It needed some bending into shape. I started gently, but had to add more and more vigour with a soft-faced mallet to make progress. Eventually I was reasonably satisfied with the fit. I had not anticipated the fear factor so early in this part of the build. It would be pretty embarrassing to make a mess of the frame, even before I had got to the canopy bubble.
There's some prep work required on the frame. Two screw holes need to be countersunk so that the screw is almost flush with the surface - not figured out why yet. See Pictures 1 and 2.
With prep work done, I was able to bolt the frame to the fuselage, with the Gas Struts in place. This required moving the fuselage outside, as I cannot fully open the canopy inside the garage.
Picture 3 shows the frame marginally overlapping the fuselage side skin, while sitting on an 1/8 inch piece of corrugated cardboard, as per the plans.
|
|
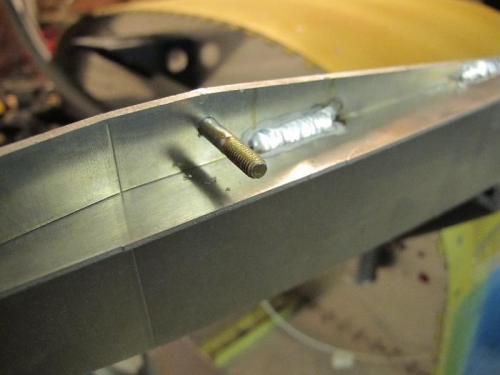
Countersunk screw
|
|
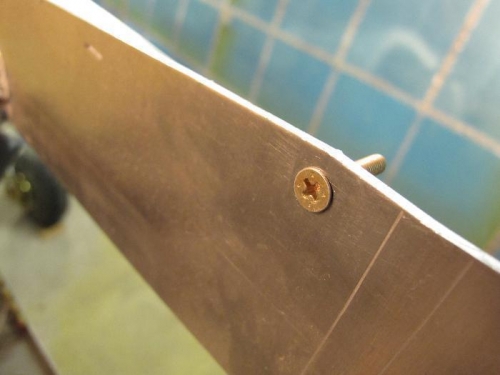
Countersunk screw
|
|
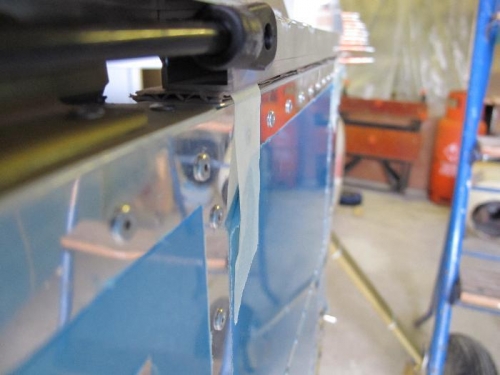
Looking aft down the gas strut
|
|
|
|
|
|
|
|
|
Copyright © 2001-2024 Matronics. All Rights Reserved.
|