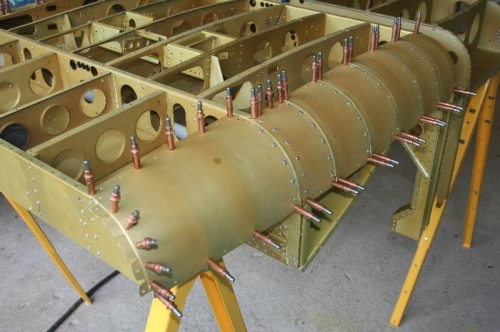
Picture 1 shows the corner skins riveted on one side. The skins are predominantly riveted to each other and at the ends. The top and bottom rows of rivets are not put in at this stage.
Picture 2 shows the opposite side, this time with the larger corner skin attached at the front, where the step structure is.
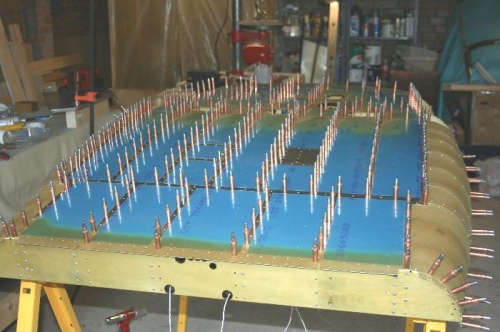
Picture 3 shows the Bottom Skin clecoed ready for riveting. I started clecoing from the front, and was horrified to find the rivet holes aft of the main U-channel did not line up. Not even close, the holes were at least half-an-inch out of sync. What could I have done?
It eventually dawned on me. The trestles were further apart from the time when I had done a trial fit of the skin, and the whole structure was bending around the U channel. When I provided some support under the U-channel I could get everything to line up. I put clecoes every other hole across the entire surface to ensure everything lined up and to minimise hassle getting the rivets inserted.
As I mentioned, I had prevoiusly forgotten to prime 10 Doublers so these would go on later. Meanwhile I tried to ensure that I did not prematurely rivet any of these holes. I didn't bother marking these holes with tape so the inevitable happened, and I had to drill out a couple of rivets. Fortunately the shop heads ended up in the U-channel so were easy to fish out. I didn't want rubbish rattling around in the structure.