Picture 1 shows the prerequisite work to create a Control Column Mount Assembly. A bearing is squeezed into a hole in the mount spacer and mount brackets are assembled either side of the spacer to sandwich the bearing. My first attempt caused the bearing to "seize" after inserting just one rivet. The sandwich was not quite "flat". After carefully drilling out the rivet, I had another go. Better luck this time, and indeed the second assembly went together without problem. One bearing is slacker than the other, but they only have to support a bolt. They don't have to swivel in their mounting. So I am not concerned. In any case, Vans claim that if you can rotate the bearing with a bolt all is well.
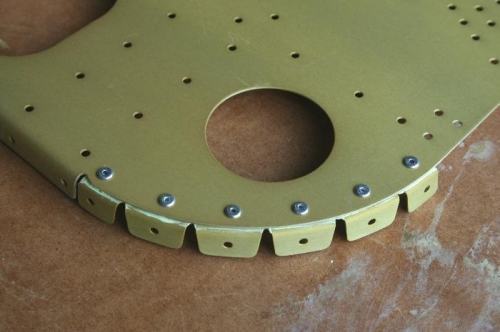
Picture 2 shows one of the two Bulkhead Flanges riveted on to the bulkhead.
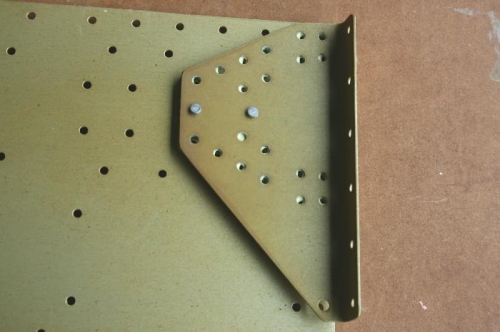
And Picture 3 shows one of the Stub Spar Receptacles sandwiched between a support plate and the bulkhead. This is a similar arrangement to the rear spar where a tab on the wing leading edge stub spar slots into this assembly.