
|

|
|
|
Keiths Web Site
|
Date: 8-13-2009
|
Number of Hours: 2.00
|
Manual Reference: P 17-06 Steps 1-2
|
Brief Description: Attach close-out skin to wing tip
|
|
Picture 1 shows the various angles of the clecoes at the leading edge. Note the unsightly hole at the leading edge of the close-out. There are numerous other small holes at the wing tip, some on the tip ribs, and some on the inside edge of the close-out, between each tab. Web posters had commented on this, so I guess I am not alone. However, it is not pleasing, and I'd like to find some way of plugging the holes.
Picture 2 shows clecoes in every other hole. The fit seems good, so I removed the panel, daubed on some of the yellow gunge, and re-clecoed the part. Yellow stuff everywhere, mostly on my clothes and on the tools. My clecoes all need a good clean up. They just distribute the stuff everywhere.
With clecoes in every second hole I set to with the rivet gun. Most rivets were inserted relatively easily. It's never easiest from underneath, and I didn't have a willing helper to flip the wing over. I did insert then remove a cleco from each empty hole just prior to inserting a rivet. This seemed to make the difference for a few of the rivets that were troublesome. Because there's a unique tab for many of the rivets, it is easy to bend the tab by trying too hard to push in the rivet. This would be bad news as, at this stage, there's no way to bend it back out, so I was extra careful not to be too enthusiastic. The job was slow, but I have to say not really difficult. I didn't have to adjust any of the tab angles so, once again, if you follow the plans carefully you get results. I'd recommend investing a little prep time to get the tab angles "just so".
|
|
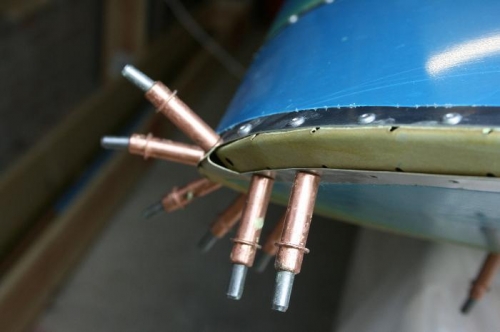
Leading edge angles
|
|
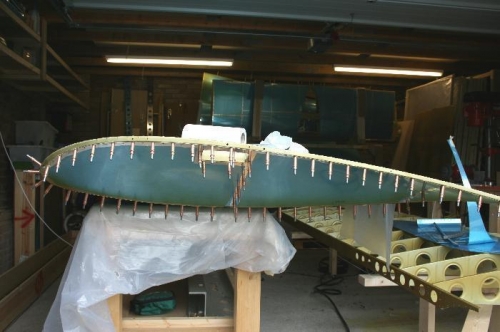
Close-out clecoed
|
|
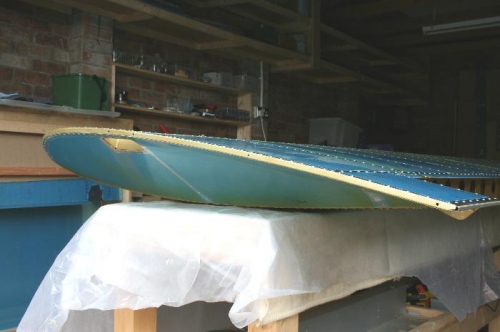
Close-out riveted
|
|
|
|
|
|
|
|
|
Copyright © 2001-2024 Matronics. All Rights Reserved.
|