I was expecting difficulty with this step as the the doubler is thick, and stiff. I reckoned I'd have fun geting the holes to line up. The plans just say start from the leading edge and work backwards, so I did. Surprisingly, this worked just fine.
The leading edge (top and bottom) is secured with countersunk flush rivets. The plans had previously called out for the wing skin underneath to be countersunk in two places (3 holes). However, there's no reference in the plans to a similar requirement to countersink the same holes in the doubler. Fortunately, I noticed and did it anyway.
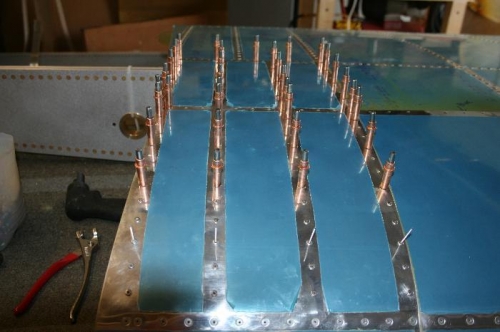
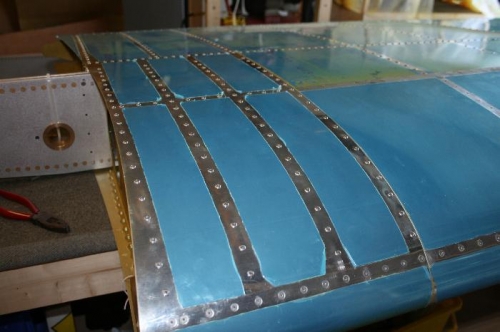
Picture 1 shows the skin all clecoed up - every third hole was fine. And picture 2 shows the finished result.
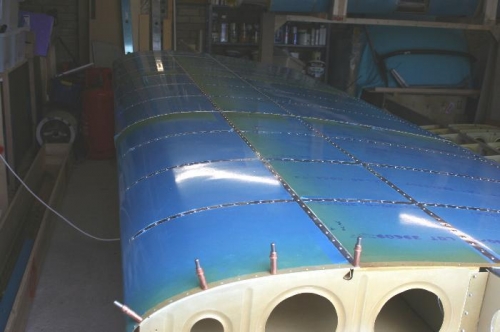
Once the doubler is in place the final rivets are added to the leading edge skins forming the overlap with the top skins. This virtually completes the fitting of the six main wing skins. Note the outboard edge still has clecoes, as the wing tip skins are still to be attached here.