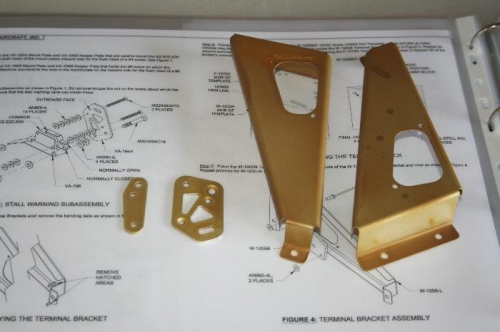
Some fiddly work for a change. First prep four small parts. In picture 1, the first two parts mount the stall warning microswitch. The second two are wiring terminal block brackets for left and right wings.
After so much priming of late, I was reluctant to set everything up again for four small parts. In the end I compromised, by using a half-face mask (no forced air). I'm sure this is next to useless, certainly I had to suffer a strong smell of primer. Oh well, I'll know for next time. Meanwhile, four parts got primed relatively quickly. Hope my lungs survive the experience.
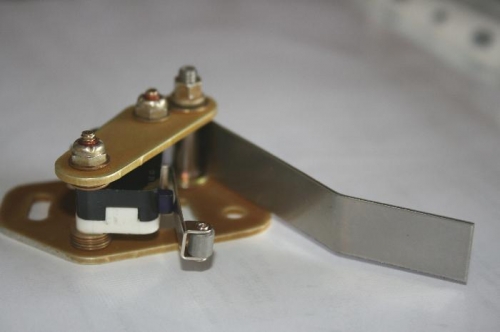
Picture 2 is the assembled stall warning unit. The microswitch is encapsulated between the two mounting plates, and the stall vane is free to rotate. There's a load of washers you cannot see in the picture. Much confusion in the plans as the wrong washers were delivered in the kit. I assembled what I had, and it appears to work fine. I'll need to check that the vane is mounted centrally in the hole in the wing skin before I can forget the unit.
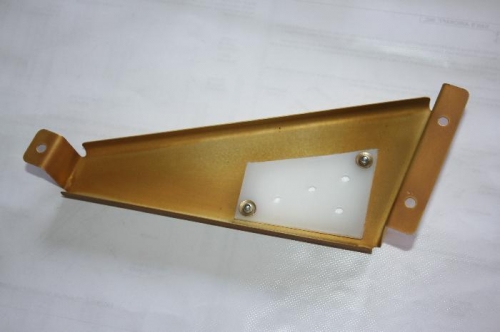
The terminal block in picture 3 is a piece of insulating material riveted to the bracket. This was cut from a rectangular piece and holes drilled as necessary. Fortunately a template is provided.