First job was to repeat yesterday's assembly work on the other main spar - attach angles and rivets galore. No picture as this was almost an exact repetition - almost. P 13-03 Step 5 refers. It's important to study this carefully as there are one or two differences between the spars - and three longer rivets must be used at one location on the second spar. Assume nothing - read, check.
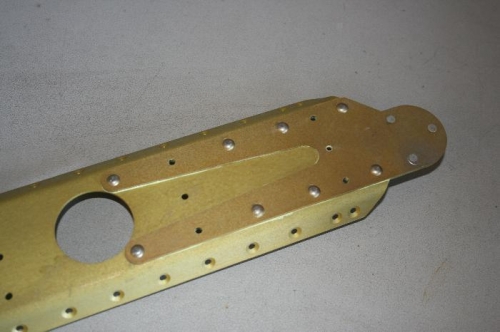
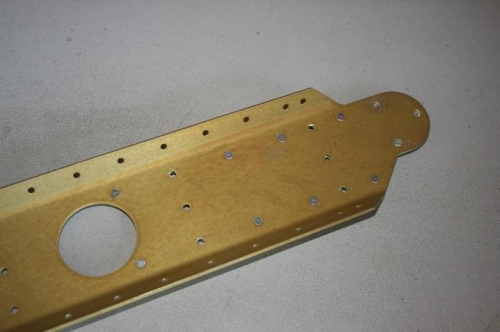
The spar stubs and their doublers are riveted here - Picture 1. Eight big solid rivets, and three flush rivets at the end. And noted previously, the latter expand into a countersink at the back so should be "as flush as possible" (Van's words). Other folk had complained that they could not get both sides flush, and I experienced this too. It was pretty obvious that the tail of the rivet contained more material than could be squeezed into the countersink. For a flush job the rivet tail would need to be shorter, or the countersink deeper than specified. I assume it will be "flush enough".
Pictures 1 and 2 show both sides of the rivets on one of the two spars.
You can see a scratch in the primer adjacent to one of the flush rivets in Picture 1. I was not happy that the original rivet had been seated correctly, so I drilled it out and replaced it. Getting better at corrections, but better still to get it right first time!