
|

|
|
|
Greg's RV-9A Builder Site
|
Date: 7-17-2009
|
Number of Hours: 4.50
|
Manual Reference:
|
Brief Description: Wheel Fairings
|
|
Cut out the "fingers" for the left gear leg fairing. Put some protective film on the gear leg to keep the hinges from scratching it, and then put the fairing on the leg. Looks good. Then I started on the nose gear leg fairing, but after looking at it for a few minutes, I realized that I will have to do the wheel fairing first, becaust the leg fairing has to be trimmed to allow the wheel fairing to turn as the nose wheel turns. So, I started messing with that. I fit the two pieces together, and then trimmed for the wheel opening. Before I trimmed enough, while trying to stretch the piece apart slightly, i split it a few inches. Nothing that cant be fixed with some epoxy and cloth. Anyway, kept trimming a little at a time until I almost had the right fit, but then my battery died on my dremmel. So, I put the battery in the charger and I still had about 45 minutes to kill. So I found another adel clamp that fits the engine mount, and I removed one of the zip tie stand offs and replaced it with an adel clamp. I marked the places where I will install adel clamps to hold the control cables inside the cabin, but didn't get any further. I went back later in the day and glassed up the crack in the nose wheel fairing.
|
|
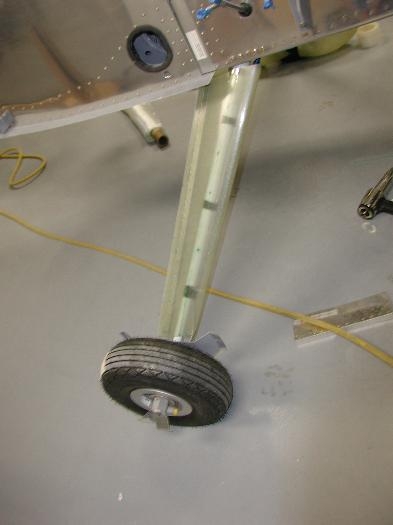
Main gear fairings on
|
|
|
|
|
|
|
|
|
Copyright © 2001-2024 Matronics. All Rights Reserved.
|