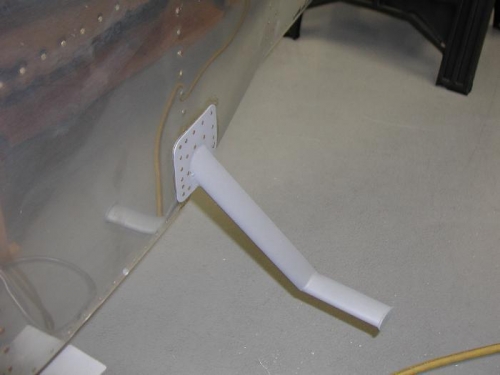
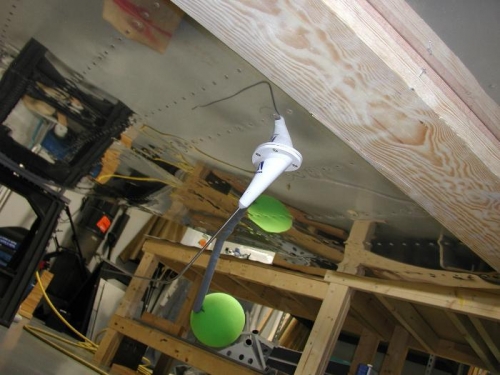
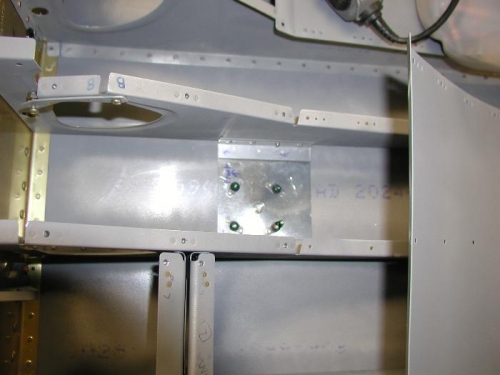
Deburred top aft skins, holes and edges. Then I deburred aft seat skins, and primed them. Riveted in the steps. Started to cleco the seat skins in place when I realized I needed to plan some antenna placement before I closed up the seat skins. Decided to put the Comm antenna right under my butt, so I fabricated a support bracket that I mounted the platnuts to that attach the antenna, and got that installed. It has an angle on one side to attach to the center baggage rib. Put a call into Stein for some guidance, and he said to leave out the cork gasket, and that I really didn't need any type of support for either the comm antenna or the transponder antenna. Oh well, I feel better that the comm antenna has a little extra support. Finally, I put in most of the pop rivets for the baggage floor. Left the front edge cleco'd because I'll be removing the seat floors again to rivet in the seat attach hinges.