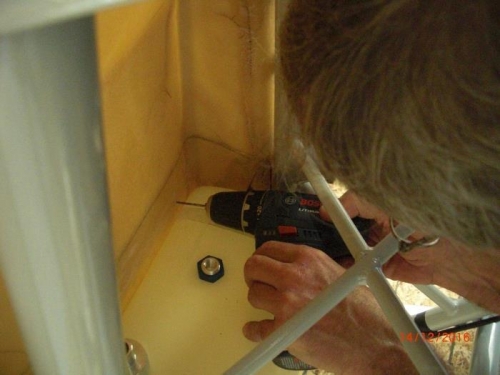
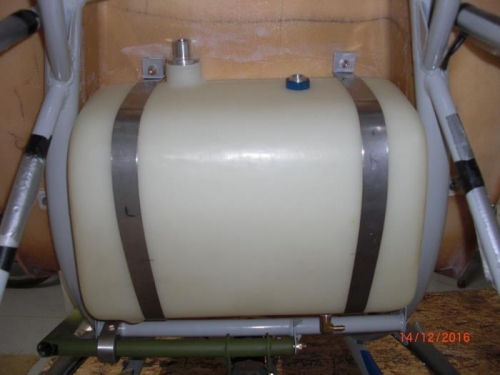
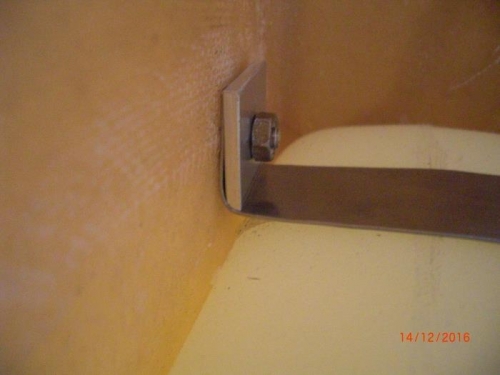
I spent way too much time on this aux. tank installation. I was not too exited about BJ way to install this tank with the 2 proided 1' SS straps. I looked at other builders sites and some mounted these tanks to the frame rails, or used T-bold clamps with hard points intalled on the seat pan. I even ordered some 8" t-bolt clamps. All these solutions were either to eleborate, or too much extra work. In the end I decided to go with BJ's design after all, but added a special square shim with a nice radius to support the SS strap ( see picture 3) I spend an hour bending these straps to the contour of the tank. Kept the tank pushed into the correct position with some wood and then drilled the bottom holes on the strap. I installed the straps at the bottom first and fine tuned the location of the upper bend to get just the right tension. I must have taken the straps on and off a dozend times, but in the end I got it just right. The radius on the square shim provided a nice support for the starp at the mounting points.
I also cut the rubber hoses today, which connect the upper and lower tank as well as the auxiliary tank.Als this is just temporarily installed to determin how everything fis together.