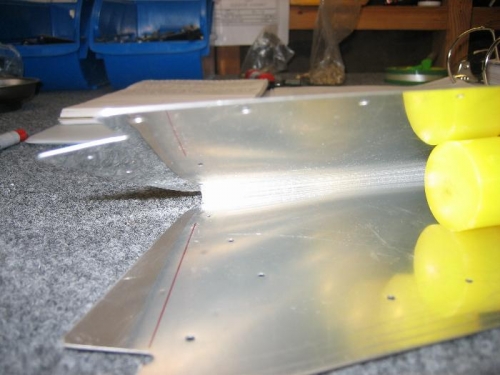
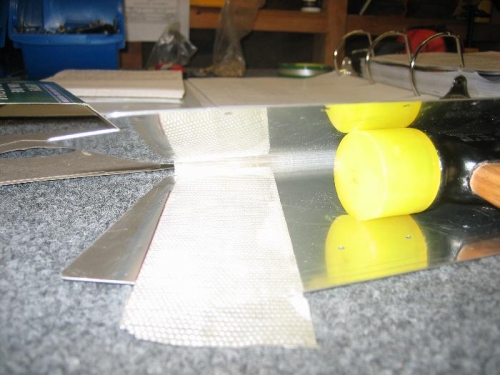
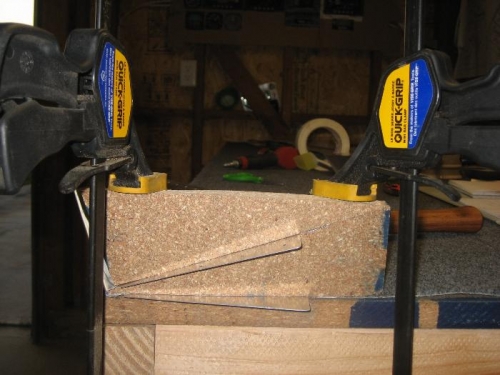
- HAPPY BIRTHDAY DEVIL DOGS!! - Created bending blocks for trim tab ends. They turned out to be too wide and didn't allow the tabs to overlap. - Marked bend line on trim tab and applied carpet tape to hold blocks. - Put bending blocks in trim tab and clamped to bench. - Began to bend the tabs and realized despite all the planning and studying I was bending the wrong tab first. It actually was the correct tab to create a water shed to prevent water from rolling down the trim tab and into the part but the pilot holes to rivet the two halves together was wrong. - I slightly bent the tab back and started bending the other side. It seemed to work at first but either I was missing the correct tab or hitting them both at the same time. I started to use the rivet gun with a mushroom bit and this did work until the bending block moved and messed up the part. The skin cracked and was bent in the wrong place...Ugghhhh!!!!! - Ordered New Part from Van's. I needed some other stuff too (more MK-319-BS rivets, etc.), so no big deal. - WHAT'S LEFT TO DO: - ReDeburr new Elevator Trim Tab skin (when it comes in). - ReFold trailing edge of Elevator Trim Tab skin. - Recreate jigs to bend trim tab (The ones I made are too wide). - Final drill and pop rivet trim tab. - Drill spar, hinge and trim tab horns. - Prep and prime parts. - Attach trim tab to elevator.