Brief Description: Right Elevator - 07 - Final Rivetting & Leading Ed
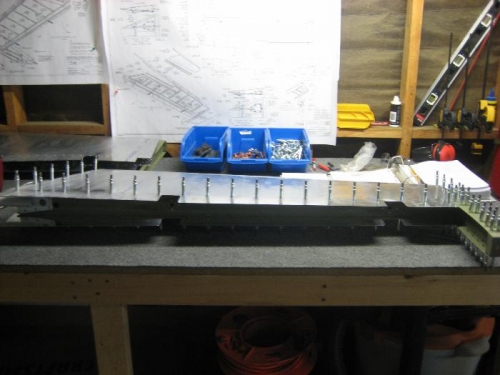
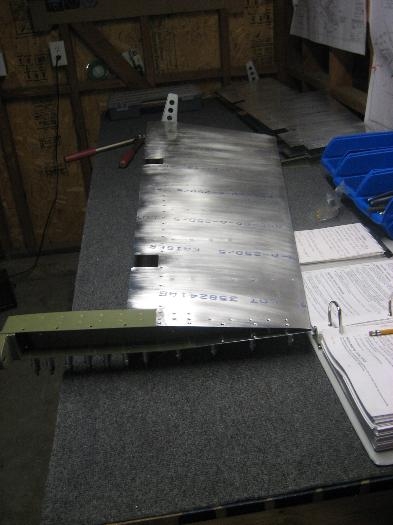
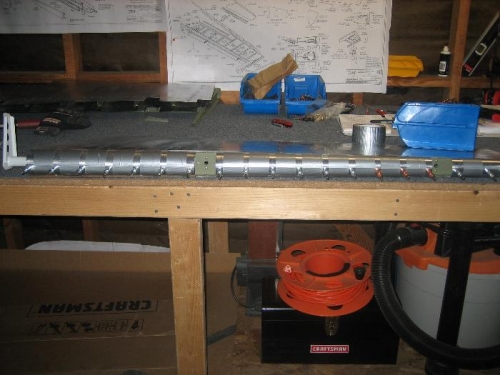
- Put ProSeal on the stiffener intersections (I hate this stuff). - Put 2 Rivets in the counterbalance skin and elevator skin. This prevents you from having to blind rivet these holes later. - Loosely installed counterbalance weight. - Put understructure in skin and clecoed. - Riveted skin to understructure. Still have 8 holes in the trailing edge that need rivetting. I am going to see if I can use a no hole yoke to get to them. - Rolled the leading edge of the elevator. Ended up doing it twice because I didn't like the way it turned out the first time. Unlike with the Rudder this leading edge seemed a bit less flexible. I rolled the snot out of it the second time...the skins were overlapping (pretty much lining up) and even then, there was a gap when I clecoed it together. I pushed the gaps closed and used Duct Tape to pull it together. I let it sit over night to see if it helps take shape. At a minimum it should help with rivetting.