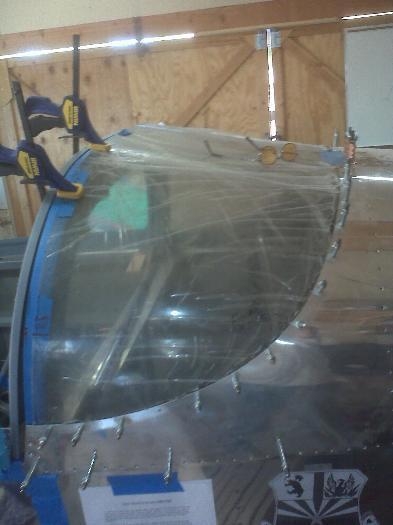
Re-installed the rear plexi window and forward top skin so the window could be drilled. Secured tle window to the rollbar and worked through each skin hole to drill the plexi with a well-used #40 drill. Marked the position of the holes on the rollbar so they can be seen through the plexi, and will work through drilling these holes on the next work day.
Used special screw clecoes on the rivet holes that penetrate the top skin, and all the layers of the aft end of the rollbar brace. Will be the most difficult to buck those rivets. Somehow cannot find my drill for plexi 1/8" and may need to order a replacement. Still need to trim the forward edge of the plexi to align perfectly with the rollbar.
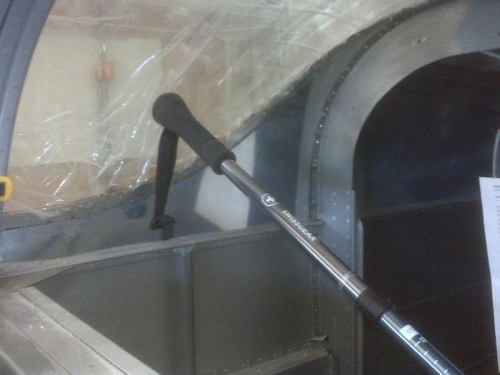
Without a willing assistant to push back on the plexi from inside, I enlisted the help of my adjustable aluminum walking stick. Worked perfectly and did not complain about my music choices, or demand a lunch break.
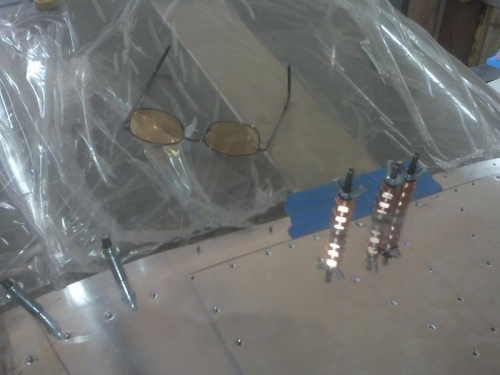
No pic - cut out a section of the .032 aluminum of the instrument visor, and created a C-603 replacement for the right side (re-do). Then clamped, drilled and clecoed the new C-603 side Rt side skin to the canopy frame. Other clean-up and small tasks, including taking another 1.2 inches off the co-pilot control sitck.