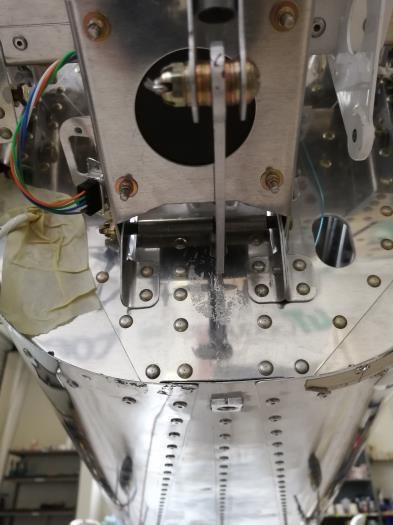
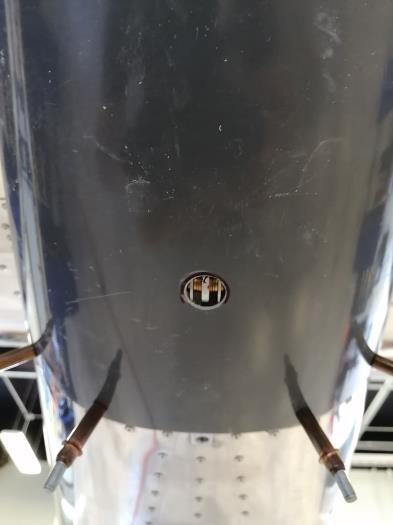
03/19/20: 3.33Hrs 8: The servo assembly was installed onto the tailcone. 9: The servo was already fully extended so we completed the clearance steps with it. 10: The fairing assembly was installed. 7 & 11: Sharpie was used to mark the contact areas of the servo with the fairing. A #30 hole was first drilled and confirmed that the servo was centered on it. A unibit was used to expand the #30 hole up to 3/4".
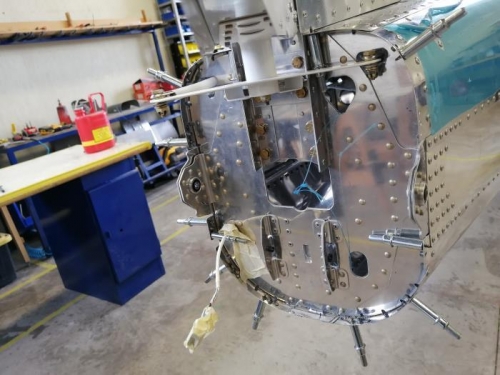
03/20/20: 4Hrs 1 & 2: The nutplates were positioned using screws and then its rivet holes were match-drilled #40, each one was removed, deburred and reclecoed for later riveting. 3: All of the previous nuplates were partially tapped 6-32.
03/23/20: 2Hrs 4 & 5: The nutplates and tailcone nutplate rivet holes were dimpled #40. 6: The nutplates were riveted to the tailcone. 12. Steps 8 through 10 were repeated with the trim/servo assembly fully extended.