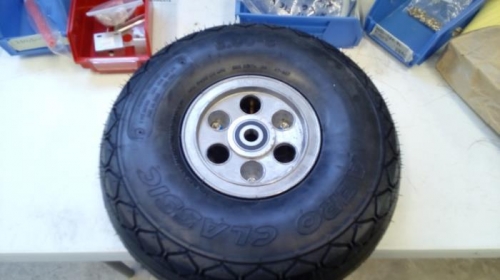
We worked on page 35iS/U-02 and did steps 3 to 5 for the front tire assembly. In these steps we had to separate the inner tube, bolts, washers, nuts. We dusted the inner tube and inside of the tire with talcum powder, placed the tube inside in the correct side and then added only the enough air, after that we fit and bolt the wheel together. We pumped the tire up a couple of times and the final inflated was with 22 psi of pressure. We also did the steps 6 to 9 of the page 35iS/U-02 for both main wheel and tire assembly.
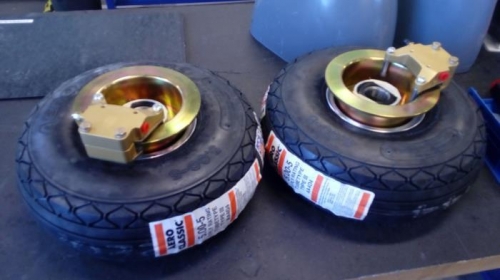
We did almost the same steps that in the other tire. Split the main wheel assembly and removed the cap screws and bolts. We desintalled the wheel but we had special attention on the order so we could reinstall it in the same way. We dusted the inner tube with talcum powder and place inside of the tire, then bolt the wheel together. Attached the brake disk with the cap screws We inflated the tire a couple of times and the final inflated was with 28 psi of pressure.
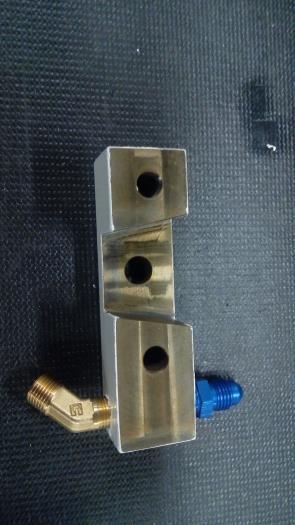
The steps 10 and 11 of the page 35iS/U-02 was done. In these steps we had to do the inboard main gear attach bracket fitting. Set the angled fitting to a 45° angle to the top plane, before to set the angled we put a small amount of pipe thread sealant