
|

|
|
|
Sonex 815 Build Logs
|
Date: 5-25-2007
|
Number of Hours: 0.00
|
Manual Reference: F02
|
Brief Description: Wing rigging 2
|
|
For info, the shorty sawhorse under the fuselage is 22" high. To get level, the tail needed support about 29" high, shift this forward or aft along the tail cone to adjust. This put things at a comfortable kneeling height inside for the drilling. Photos are deceptive because the driveway is sloped towards the front and left sides of the plane, but the plane was level and the wings were leveled to it using the water level. I didn't have a piece of hose long enough to go from wingtip to wingtip, so we set up one end clamped inside the fuselage to a board on the centerline. Be careful when doing this though - you have to draw a line on the board in the fuselage and make sure both wingtips are level to it. Erik came up with this and I didn't get it at first, but once the line was drawn, it was easy to get both wingtips exact relative to that. Just for kicks, a digital level placed on a beam across the fuselage showed 0.0 degrees when facing forwards or aft. The right wing showed 3.0 degrees up, the left wing 2.9. That was at the first 10" rib bay outside of the wing step area. I decided leveling with the hose at 11 feet from centerline was more accurate and went with the water level indication. But it was a good double check that added some confidence, especially since the driveway being sloped so much created such an optical illusion under the plane.
|
|
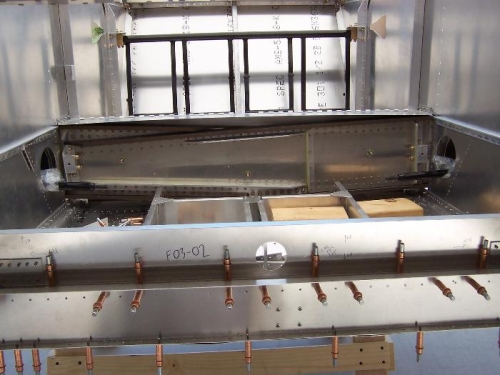
Aft spar in, all set up to drill the main spar.
|
|
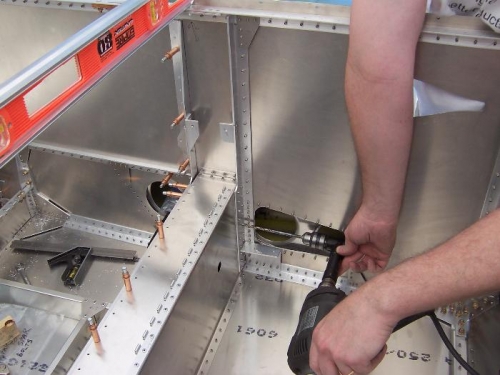
Drill from back to front first, put the aft spar box on, then front to back.
|
|
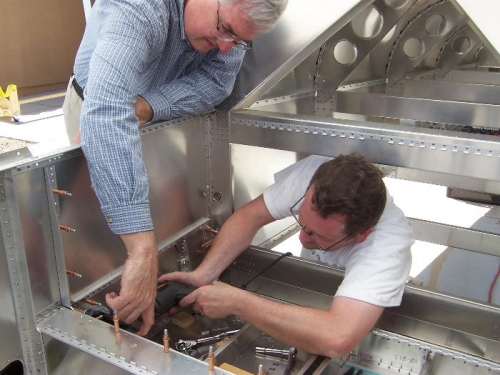
After the 1/4 front to back, it's all back to front with the step drills.
|
|
|
|
|
|
|
|
|
Copyright © 2001-2024 Matronics. All Rights Reserved.
|