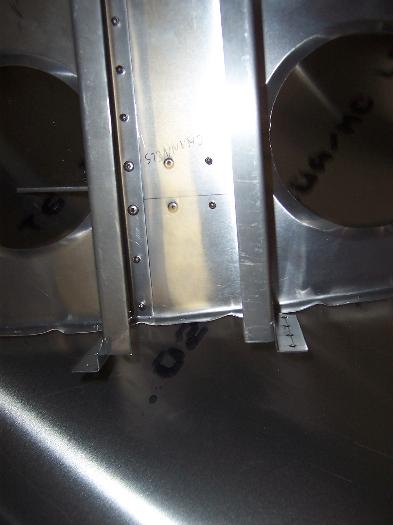
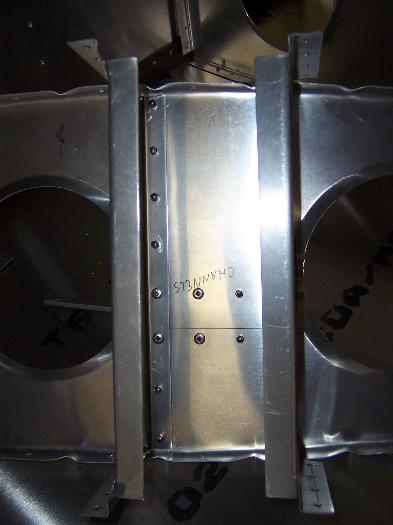
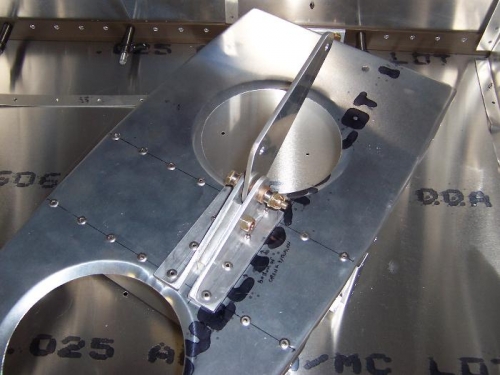
Worked on #9 rib aileron bellcrank supports. Drilled channels to rib, then put rib back in wing to align channel mount angles to skin. Removed one skin (top or bottom) and positioned angles. I had heard if the angles are drilled to the channel first, the result can be either dimples in the skin, or a pressed-out spot at the root of the angle. Maybe this way I will have a smooth angle attachment. Marked the position of the angles on the channels. Removed the #9 rib. Drilled the angles to the channels, put the rib back in. Drilled the angles to the wing skin. Put the bottom skin back on, turned the wing over, removed the top skin. Marked the position of the angles on the channels. Removed the #9 rib. Drilled the angles to the channels. Put the #9 rib back in. Drilled the angles to the skin. Disassembled the LH wing entirely for deburring, plus still need to do some spar-to-spar fitting and drilling. Seems like a very long time just to get a few angles in place, but this is as complicated as the wing gets. Also took a while to get the bellcrank riveted to the rib. Can't access the rivets from the side shown, so some are reversed (rivets are structurally the same both ways).