
|

|
|
|
Sonex 815 Build Logs
|
Date: 6-17-2007
|
Number of Hours: 2.50
|
Manual Reference: G01
|
Brief Description: Fuel tank installation
|
|
Cut the replacement aft tank support straps. Cut these just a hair narrower than the 1 1/8" called for so they would fit in the tank groove better. Bent these, drilled the holes in the ends, installed. Installed the tank. Got an AN3-10 in the aft strap and pulled it in tight. The strap fits nice in the tank groove. The tank isn't going anywhere after this because the forward edge of the tank rests on the cross beam near the top of the firewall, but I got the forward strap secured as well. Clecoed on the upper firewall (now is the time to install it). Marked it for the notch for the vent tube, removed it, cut the vent notch, trimmed the notch a little more, then clecoed it in place for the last time. Riveted on the upper firewall. Sealed the firewall upper and lower corners with the silver RTV - it's not high temperature or anything, but in a fire, any RTV is going to burn out, so it's mostly to keep air and fumes out. A few hours later, I bolted the motor mount into position. It had been shimmed and drilled earlier, so this was a pretty easy operation. The key is to go buy a #3 screwdriver for the larger screws. This makes applying the torque easy.
|
|
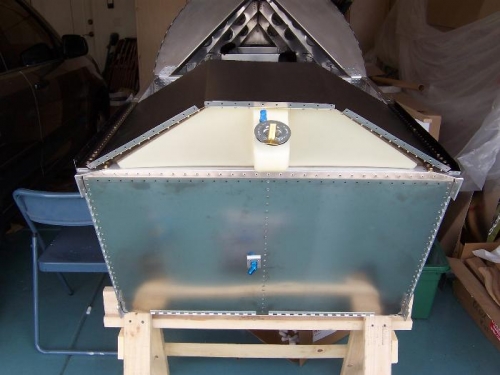
Tank installed, then add upper firewall.
|
|
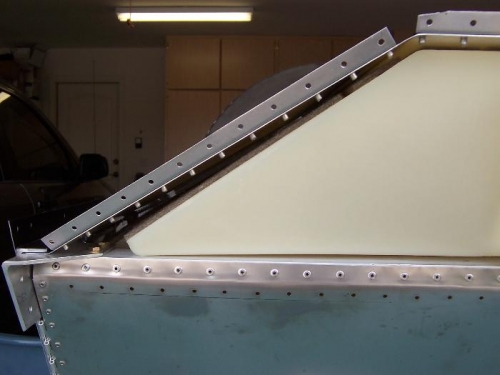
Gap between glare shield and right side of tank.
|
|
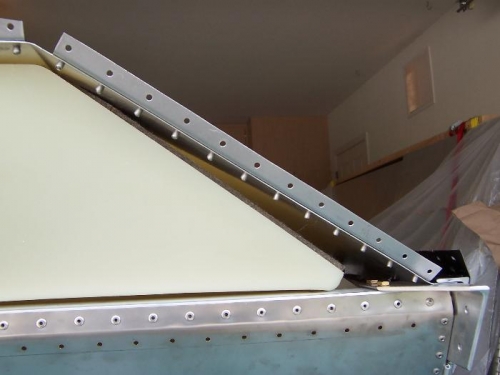
Gap between glare shield and left side of tank.
|
|
|
|
|
|
|
|
|
Copyright © 2001-2024 Matronics. All Rights Reserved.
|