Brief Description: Start assembly & sealing of right fuel tank
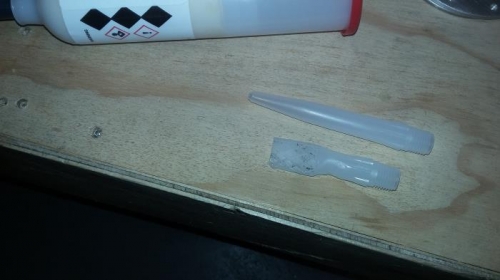
I made a flat nozzle per the drawing using a heat gun to soften the plastic and then flattened it in a vise. I roughed up all of the mating surfaces with scotch brite and wiped everything down with methylene chrloride. This took about 1.5 hours.
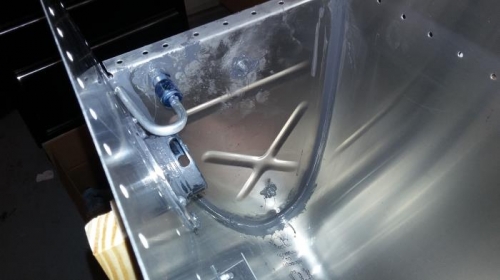
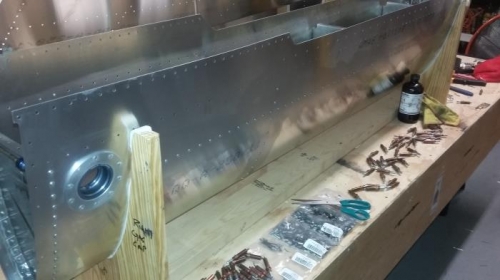
I used a drill attachment to mix the proseal semkit while stroking the plunger 50 times. I starting sealing the longeron first, clecod it in place and then riveted it to the skin. Next I ran a ribbon of sealant for all of the ribs, clecod them in place and then riveted them. Finally I installed the fittings with sealant on the flange washers and loctite 577 on the threads and then installed the drain plug flange and the gas cap flanges and neck. This took about 2 hours and I went completely through 1 tube of sealant.
The clean up took another 2 hours using rags, paper towels, wooden sticks and most of my methylene chloride to remove the excess sealant from round the rivet heads, flanges and fitting threads.
This took a lot longer that I had planned for I and only got about 30% of what I planned done today. I have enough sealant to finish the right fuel tank so I'll plan half a day for that and order two more tubes of proseal and some more methylene chrloride.
This is by far the most un-fun part of this project so far. All of the clecos I used are probably ruined and most of my tools have sealant on them. I can't wait to do this again!