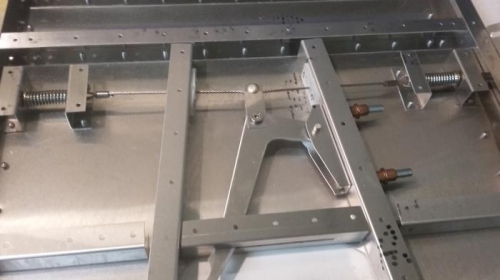
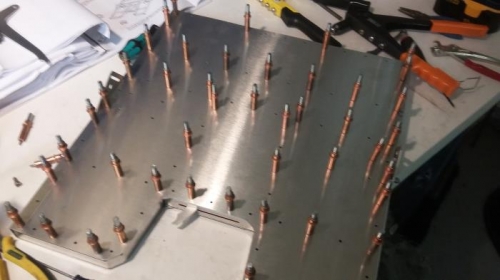
I riveted the bottom surface assembly and then installed the pin / latch mechanism for the seat adjustment. I screwed up the first time and robbed the parts from the other seat and assembled using an M5 screw instead of a solid rivet. I don't recommend using a hammer on the solid rivets for the moving parts ( i hosed it up.)
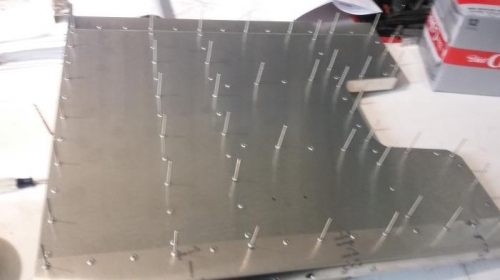
The mechanism worked ok before I put the top skin on, but after clecos it appears to be sticking or generaly just not working well. I don't think this mechanism was thought through very well and looks like it will be a pain to deal with in the future, so I am going to think about it an maybe come up with a design modification.