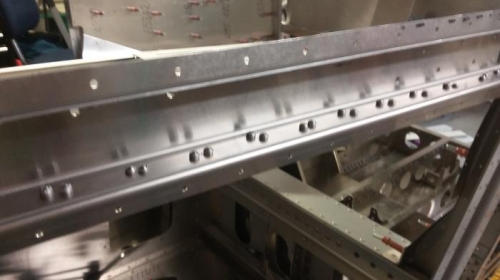
After finish riveting the left top rail, I clecod and riveted the outer skin channels to the right, forward, inner panel. Test fit was done and required me to shave some aluminum flush with the forward end of the braces to prevent interference with the firewall.
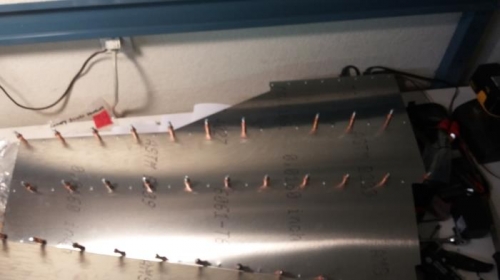
I just noticed that the mounting angle of this skin mounts to the bottom of the top rail. I already riveted the left side, so a lot of those rivets will need to be drilled out and replaced when the left inner skin is installed. FUN!