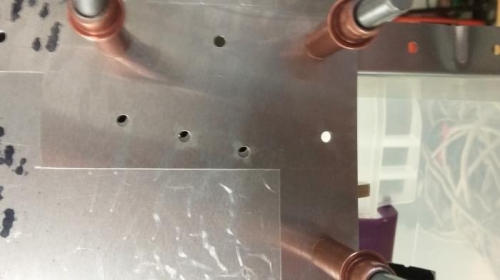
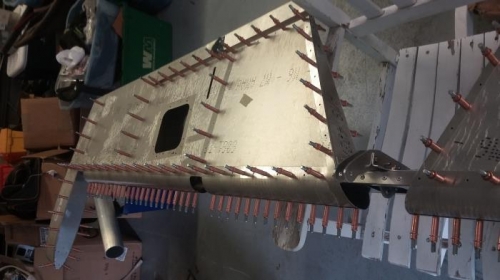
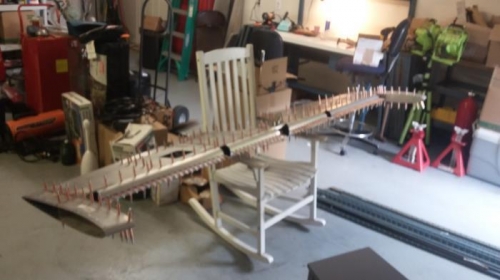
Used a soldering iron to remove the protective plastic coating from around the rivets on the skin. Inspected elevator frame for straightness and flatness around rivet holes so for skin fitting. It will need a little tweaking but not nearly as much as I expected. I'll do a test fit first and look for dimples and warpage and then correct the frame as necessary. Test fit right elevator skin and found only one dimple at the point of a rib. Also found that the three cross brace holes on either side and end did not line up properly but all the other holes did. I matched drilled them and also added a few holes that were present on the skin but not on the ribs. Cleco'd both of the skins to the frame again and I was surprised how flat everything was. Looking good! Adding the two little gussets on the left side was a pain, but doable. While adjusting the left skin, my work surface slipped and bent the spar about 10 degrees down between the first and second rib from center. I used a sheet metal hand bender and massaged it back into the C-channel shape. Once the skin is on it will not be allowed to bend like that. Ready for rivets.