Brief Description: Continued sealing the left fuel tank
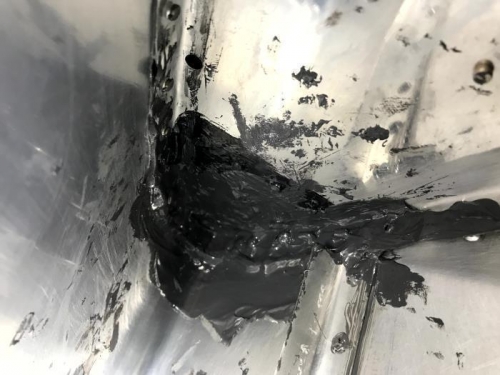
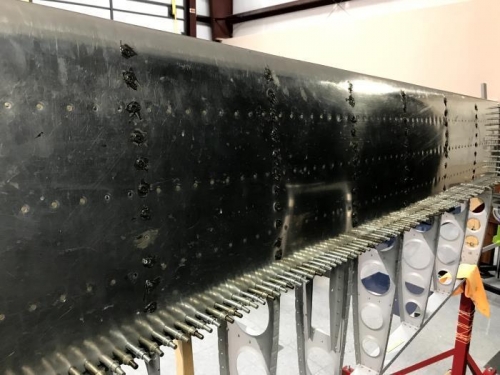
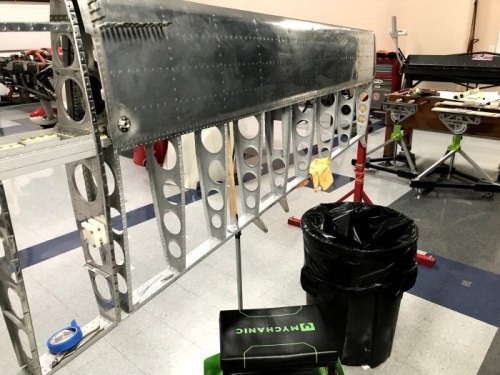
I did not take more pictures of the reinstalled upper surface; I just kept my head down and worked through the recovery process. Today, I moved on with sealing the bottom surface of the tank. Image 1 shows a messy view of the inboard leading edge of the second rib with sealant slathered on. All sealant on the bottom surface is accomplished by pulling the skin back and working the sealant onto all the faying surfaces. This is often tight and difficult to get into small gaps, but I spent quite a while making sure I did the best I could. This is one of those jobs where you can see it, or touch it.... but not at the same time. Image 2 shows the bottom skin after pull rivet setting but before the spar was riveted. Finally, image 3 shows the skin after spar riveting.