Brief Description: Left flap construction continued
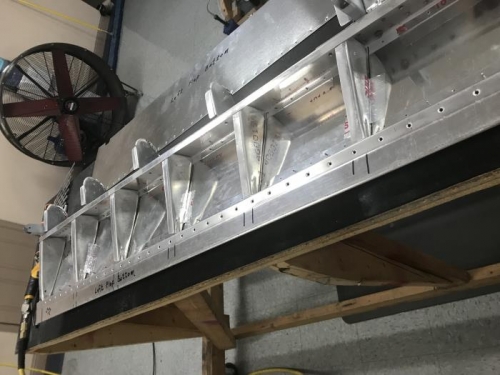
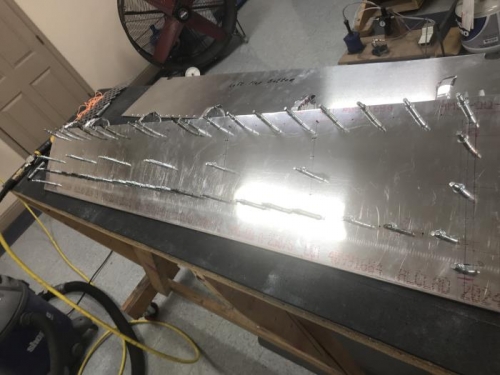
The next step was to lock the upper skin of the flap to the spar and ribs. This is that step that sets the alignment to the aileron chord. Image 1 shows initial drilling of the spar and ribs. Note, everything was first taped using aluminum (not stretchy) tape to make sure I had things in the right spot during fit checks and drilling. Druing the process of installing and removing the flaps, the overhang (excess skin) was also trimed somewhat so that the aileron and flap could coexist. Final trimming will be saved for later when hinge spacers are made.
Starting the drilling of upper skin to spar and ribs