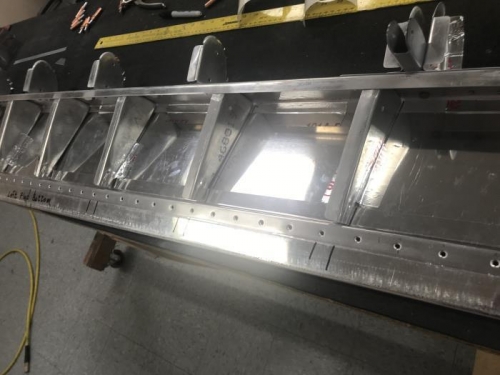
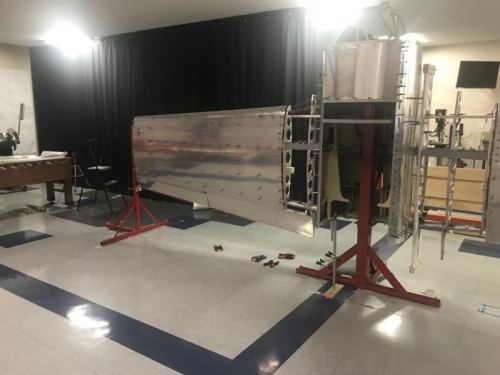
The previously built left flap substructure was placed on the upper skin and appropriate notches were cut to allow the nesting of the root and tip ribs. At this point, the flange that was formed in the trailing edge can be drilled and riveted. If I were to build another flap, I would pay more attention to making sure the edge was firmly pressed against a flat surface (not my rubber topped bench) to ensure no bow is set in the top skin The floppy clamped assembly was then installed on the wing to check the position of the trailing edge. The edge must be aligned at the same height (chord length) as the aileron to make sure the trailing edge has no discontinuity between the two surfaces. Once the chord is set, and the upper skin is drilled, then I can worry about getting the twist right. (The flap and aileron must both accommodate the washout that is built into the wing). Note, one interesting thing that results from the outboard hinge not being at the same BL as the tip rib is that you can't just adjust the skin to match the aileron, you have to be careful to unload the flap spar. Any curvature in the spar will result in the skin sagging, so it is a variable that you have to worry about.