Been a bad boy and didn't update the log. Once you miss a day, the next is easier until you are five or six behind. Having to move 15 yards of compost did tend to distract the concentration!
Over three days finished the front baffles. Made several mistakes that were corrected along the way until the last one of dirlling the corner curved pieces that you fabricate with a #30 rather than a #40 dfrill. Made it impossible to rivet and the pieces looked like swiss cheese. Decided to trash the parts and do it again. Removed and drilled out about 40 rivets to salvage some of the parts and placed a $110 order to vans for new ones on Sunday. Also ordered the remaining parts fron ACS for the baffles and a couple of finish items.
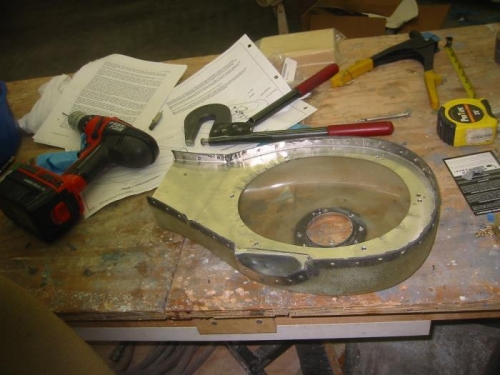
Started on the air box. Mounted the box and alligned it and drilled the box to injector plate. Realized that I had not installed the mixture/throttle bracked that goes under the injector, so removed it and installed the bracket. Fitted the box up to the lower cowling so it alligned. Drilled all the rivet holes. Made the cutout for the relief for the throttle arm. Cut the hole for the alternate air valve and frilled its base in. Installed the nutplates.
Preped all the parts and mixed an oz. of Proseal. Put it together and installed all the rivets on the air box. It is ready to make the cowl/airbox fibergalss extension.