|

|
|

|
Harteveld, Chinook Plus 2

|
Date: 9-24-2016
|
Number of Hours: 5.00
|
Manual Reference: Steps 23 thru 25
|
Brief Description: Seat Installation and Flaperon Handle
|

|
Gorgeous Indian Summer day here in Jersey. Chores all morning, but was able to sneak into the shop during the afternoon. Had company from Lolly, as well, banging out a couple of Tinker Crates and helping lend a hand on the Chinook. Fun to have company in the shop, and she's got good hands.
Seat installation was fun and smooth, though seems a little bit early. The manual is clear that the front seat might need to be repositioned based on weight & balance needs once the mill is installed and the CG becomes more clear. But I have it tied-down with the back of the seat about 3" in front of the rear edge of the seat flanges. We'll see how that works.
Also did seat bellt installation, which was cool. All high-quality components, as expected.
Step 24 was all about installing the tiny panel for the back seat. But the manual made clear that it shouldn't be installed until I get the instruments in - so I set it aside until much later.
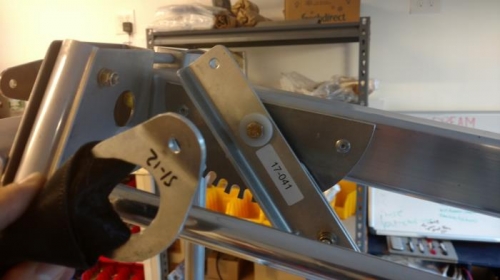
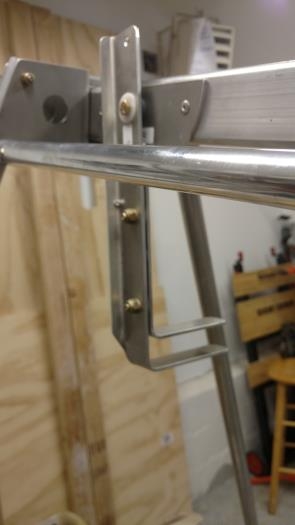
Step 25 is all about installing the mechanismthat allows theflaperons to be raised and lowered. Little bit of confusion between that and the front, top seatbelt attach point. shot an email to AM about that, and two tie-ends from the associated control pushrod that seem to be missing. Will see what they come back with.
Nice, low-key afternoon in the shop makes for a happy boy.
|

|

Flaperon Handle and Seatbelt hardpoint
|

|

Flaperon Handle, mid-install. A really nicely manufactured part
|

|
|

|

|

|
|

|

|
Copyright © 2001-2024 Matronics. All Rights Reserved.
|

