
|
|
Harteveld, Chinook Plus 2
|
Date: 9-17-2016
|
Number of Hours: 7.00
|
Manual Reference: Steps 19, 20, and
|
Brief Description: Rear seat cieling and floor
|
|
Rivets, rivets, rivets! Step 19 consisted of installing a non-structural panel wiht a 90-degree bend immediately behind the rear seat. Mine is considerably more angled than the one in the plans, and required a bunch of custom trimming, filing, and fitting. SOME CONCERN about clearance for the rear lift strut. Manual wasn't clear enough about this danger in step #17, installation of the pylon braces. Choosing to soldier forward and cross that bridge when I get to those lift struts...
Step 20 was a quickie, just installation of twotubes in the cieling that will be attach points for lexan in the roof. Step 21 consisted of installing the small floor in the back seat. Not much room for dancing.
|
|
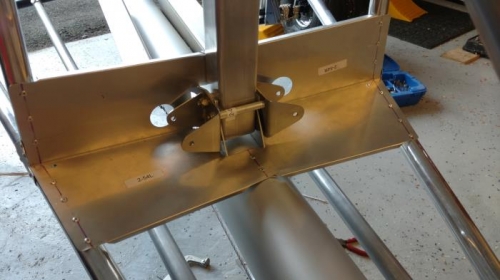
Fabric support plates
|
|
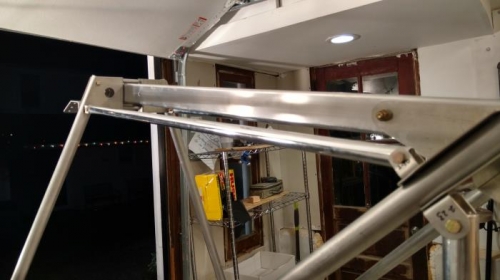
Lexan braces over rear seat
|
|
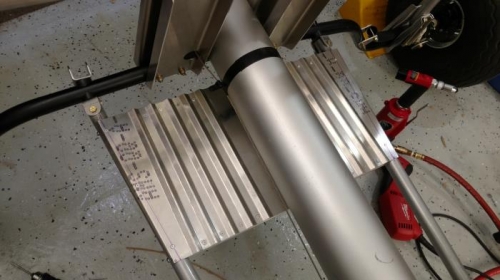
Floor. Not much room for dancing...
|
|
|
|
|
|
|
|
|
Copyright © 2001-2024 Matronics. All Rights Reserved.
|