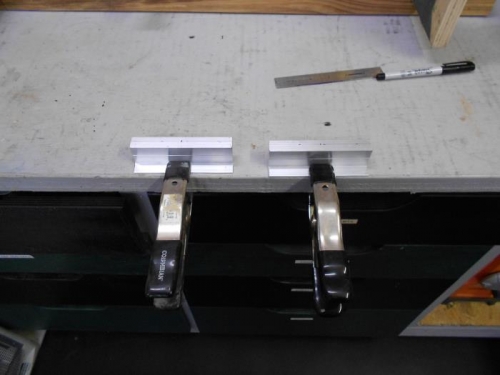
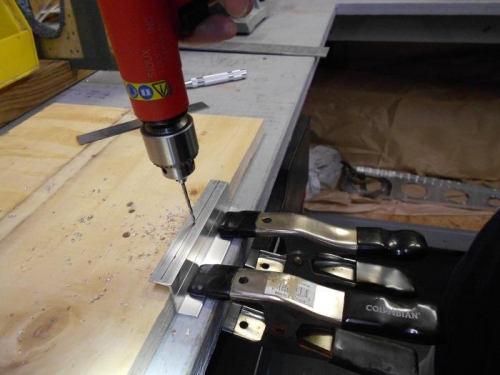
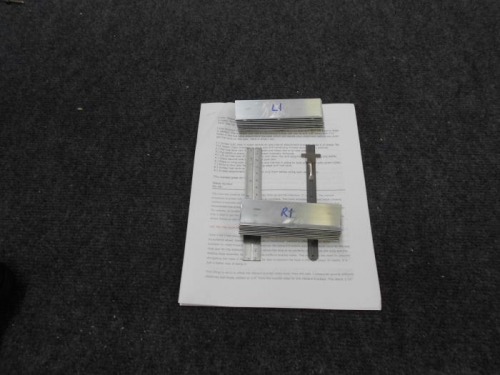
Today I started off by measuring and marking all Z-Brackets via the Checkoway Method. 2 brackets were measured to 1/4 inch and all others to 5/16 inch. I then drilled the center hole on each bracket using a punch, then a # 40 drill bit for accuracy/guide hole, then to the prescribed #12 bit. This was extra work but worked out well. Scotchbrited the burrs on both sides of the holes. I then match drilled all of the remainder of the holes to the respective wing spars using the # 12 drill bit and the AN bolts/nuts to hold bracket in place. Used a square to ensure brachets were straight. Deburred all holes then scotchbrited them again. Marked each z-bracket with sharpie for location on spar. Next session will be countersinking, platenuts, priming, and riveting platenuts to z-brackets.