Contuing with the nosegear assembly, now installing the rubber pad and pivot tube.
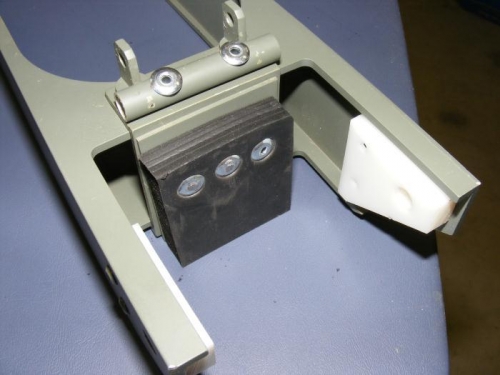
The first picture shows the pivot tube riveted to the front of the nosegear channel immediately above the eyebolts. This is viewed from the front of the nosegear.There will be a couple of longer tubes that bolt to the eyebolts and pull against the pivot tube. These longer tubes are used to actually retract the nosegear. The white piece near the top of the picture is a nylon shim block that is secured on either side of the nosegear channel and is used as a bearing surface during retraction.
The second picture is looking from the top down of the nosegear channel, and shows the rubber pad mounting.
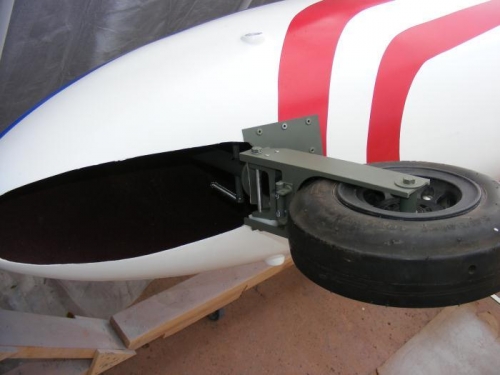
The last picture shows the nosegear mounted. At this stage it is not secured in either an up or down position, so I need to be careful when I pivet the fuselage that the nosegear doesn't swing wildly and slam into the it.
Pivot Tube and Eyebolts.
Rubber pad mounted to nosegear.
Nosegear channel mounted to nosegear pivot assembly.