I decided to match drill the trailing edge of the right elevator tonight. I had to first fabricate a drill guide out of a block of wood to set the correct angle of the drill. I drew a line on the AEX angle piece and lined the pre-punched holes on the top of the skin to up to match the line. I then clamped the edge with about 20 spring clamps to hold it secure to the aluminum angle I had attached to the bench yesterday. I drilled the first hole and clecoed. I then drilled the next hole about 10" away and continued until the end. I then went back and drilled the holes in between. When finished, I noticed that the holes on the surface were sort of oblong.....I think the drill slightly shifted on many of the holes. The bottom of the skin (where to drill exited) came out perfect. I'm not too worryed about this, because the dimple and rivet should cover the entire hole. I deburred all the holes, then put the AEX angle piece in the jig and began to countersink both sides of the holes. I can't go to deep on the countersink, because I do not want a knife edge in the middle of the hole. When I finished, I clecoed the whole thing back together. It is lined up perfectlty straight. The only thing of concern is the skin does not quite sit flat on the AEX. There is a very slight gap, because of the shallow countersinks. I figure the pro-seal will fill the gap and the riveting will sandwich the pieces together tight....I'm not worried. Tomorrow I will do the same thing with rudder and left elevator.
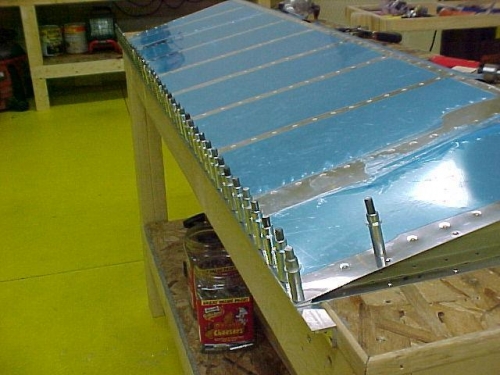
Right elevator trailing edge clecoed to aluminum angle