This morning I started by drilling out the 2 spars and then began preparing the main and nose ribs for assembly. This involved alot to deburring, fluting, more deburing, and more deburring! I love having the right tools to do the job....I used the Scoth-brite wheel on my grinder for the big areas and a small SB wheel on a die grinder. My mini file set was used for the smallest areas. I then assembled the stabilizer skeleton, then enlarged all holes to #30. I then dissmantle everthing and began to deburr all the holes. I used a cheap Black & Decker drill driver I picked-up at the Sears Hardware Store Closing Sale. I attached a deburring bit and It worked like a charm....probabaly saving me hours of time. I then cut out the jig pieces and set them up on the bench. after leveling and plumbing the jigs, I began to assemble to right half of the stabilizer in the skin. Very tricking getting the first 3 nose ribs in, but the holes matched up perfectly and the rest went very easily. This is a great kit!! I finished the day clecoing the entire half together. Tomorrow it is back to work and I will only have a few hours at night and the week-end. I'm glad I got the shippement early, because I got a good jump on this thing over the last 2 days. I can't wait to start the left half tomorrow after work!
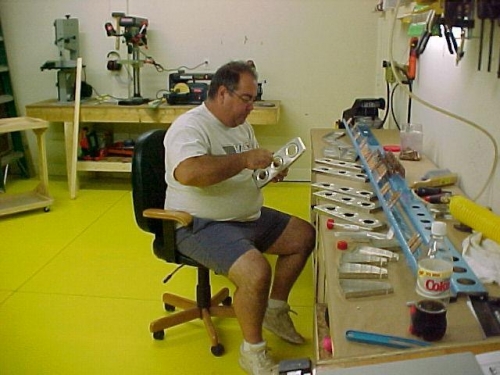
Big Joe deburiing the rids
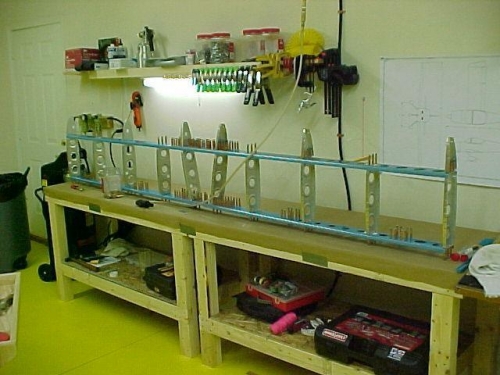
Stabilizer skeleton assembled
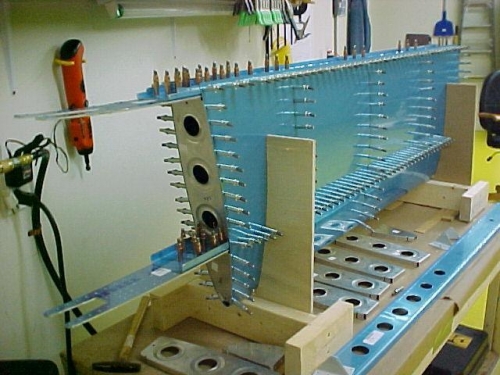
Right halv of stabilizer attached to skins, ready to match drill