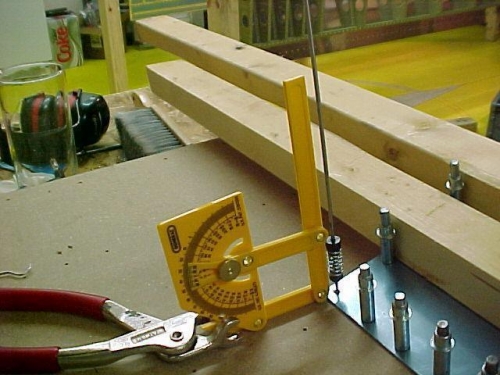
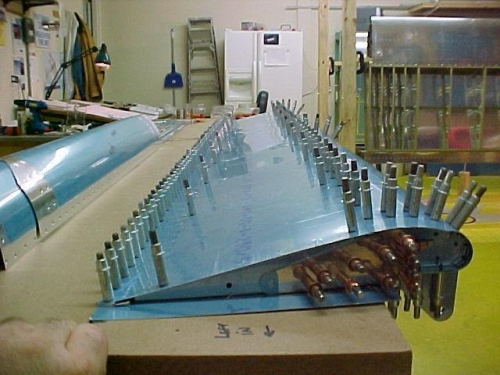
I began tonight by calculating the angle and adjusting the angle protractor finder to use as a guide for the trailing edge holes. I used a 12" bit to match the angle, then drilled. The holes have to be perpendicular to the chord of the wing, not to the top of the skin. I continued, drilling every other hole and inserting a cleco. I then went back and did the other holes. This is the same method I used when I did the right flap last week. Next, I match drilled all the holes in the nose skins followed by the holes in the aft skin. Once all the holes were drilled, I removed all of the weights holding the flap (flat to the table top) and began to dis-assemble the flap components. As I did, I marked each piece with the engraver. I discovered I can use the engraver right over the blue plastic film. That way I can mark parts before I dis-assemble them. Next I will remove the blue plastic film on the rivet lines of the skins and begin to deburr & dimple & deburr & dimple & deburr & dimple.......
I used the angle finder to guide the drill into the trailing edge at the correct angle.
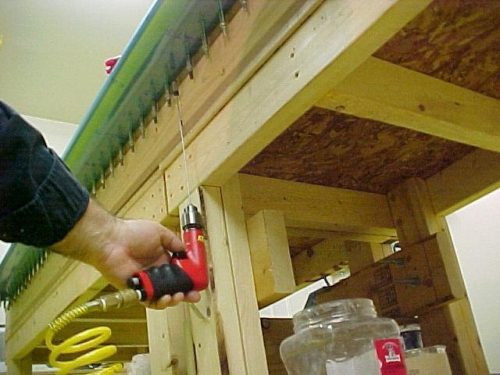
Drilling the bottom skin, nose skin and spar with a 12" bit