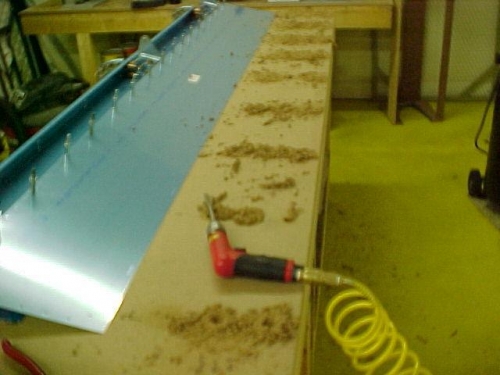
Happy New Year! I decided to spend the first day of the new year in the shop......what else is new! I started by cleco-ing the bottom flap skins to the spar. The clecoes hang over the edge of the table top and the skins are drilled into the table top (every other hole). Then I drilled the holes out to 5/8". This is so the clecoes will go in the holes when the flap is inverted and the skin will lay flat to the table. I continued by attaching the ribs and nose skins, aft skins and trailing edge angle. All parts are match drilled. The nose skins were a bitch to get on. You really need two people to hold the skin in place while it is clecoed . The trailing edge angle is attached just like the ones in the empennage. You just got to make sure the drilling angle is correct. I was very tired when I quit (about 8:30). I washed up then went inside to a nice cigar and a glass of wine with Wendy........
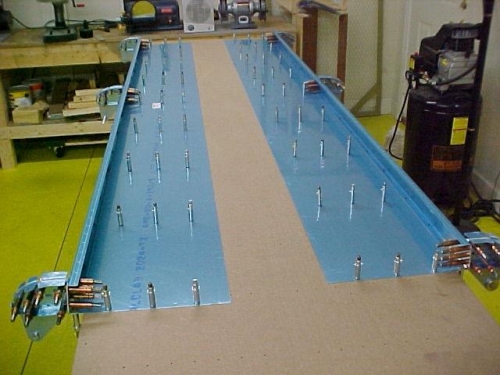
Flap skins are first drilled into the table top
Holes are enlarged to 5/8" so clecoes can fit in holes when upside down
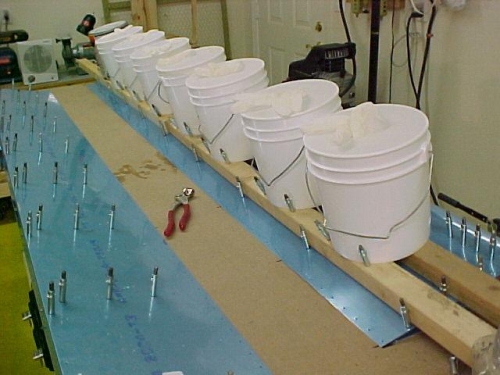
Flap ready for trailing edge to be drilled. Note the weights (pails of water)