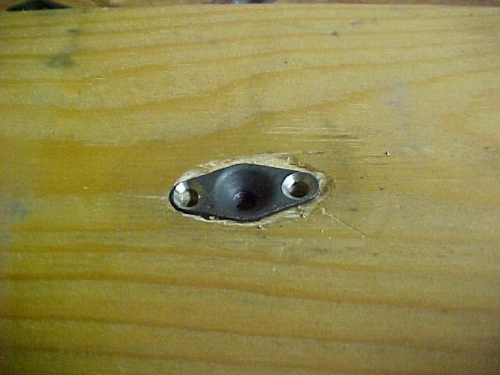
I began tonight by taking the leading edges apart. I drilled all the platenuts holes in the splice strips and deburred. The next step was to dimple. I dimpled the #40 holes first, because I did not the dimple die to deform the #8 screw hole dimple. When I dimpled the #8 screw hole, I got a VERY SLIGHT deformation of the edges of the #40 dimple. I test fit the #40 hole with a rivet and the rivet still seated well. The next thing I tried was to dimple the platenuts. The platenut becomes bent with the action of the dimple tool. I tried to straighten the platenut out with pliers, but it does not come out perfectly straight again. I decided to mechanically countersink the platenuts. I made a recessed jig in a 2x4 to get the top of the platenut level with the top of the wood. I then used the countersink bit in a cage to complete the countersink. Seems to work well and the platenut retains its shape. I was going to rivet the platenuts on the strips before I prime it, but I think I will rivet after I prime the strips. I've also got to pick up a couple of balloons to do my tank leak test.......
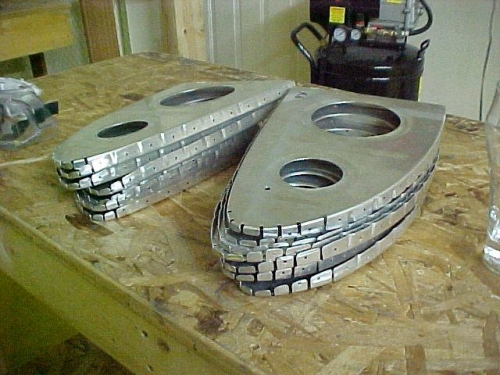
Leading edge ribs once again dis-assembled
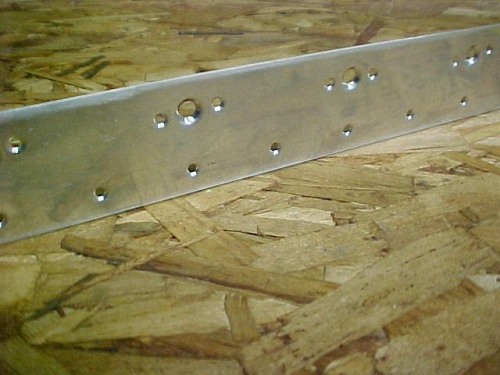
Splice strip deburred and dimpled - ready for priming & platenuts