Brief Description: Static ports, Rudder Cable Fairing, & Filed down
Today I decided to take care of some of the little things that I need to do before I tackle the wings. I got out my pitot-static plumbing kit I bought from Safe-air last month and read the directions.....not much in the way of directions, but this stuff is pretty self explanitory. I need to attached the 2 static ports to each side of the fuselage. Van's uses a pop rivet for the port hole, but I like the looks and the quality of the Safe-Air ports. You can either attach them with rivets or pro-seal. I opted the pro seal route. I've seen some other builders use the rivets and it looks too messy. I needed to remove the primer from the area to received pro-seal...I taped off the area (a circle) then sanded the primer off and used a scotch brite pad to ruff up the surface. I did the same to the back of the port. I then used some acetone to clean the areas and mixed up a small batch of pro-seal....the smell brought back many memories of the fuel tank construction.....I clamped the ports on to the skin and the pro-seal beaded up nicely around the port. I will leave this for a few days unil it sets, before I attach the lines.
Next I worked on the rudder fairings. There is an adel clamp that holds the plastic cover over the cable right in front of the fairings I drilled a hole for the screw and dimpled it with a squeezer type dimpler that I bought from Avery a long time ago....worked great. I Then trimmed up the fairings and drilled 6 holes in each one for mounting. I used pop rivets for this. I like the way these turned out. Next item was to file the edges where the canopy decks meet the side skins. I filed both sides until I made a slight rounded edge. Then I sanded it with a 150, then a 350 grit metal sand paper. Turned out nice. I will probably work on other stuff before I do the wing mating....I would like it to get a little warmer outside in case I have to work with the garage door open.....
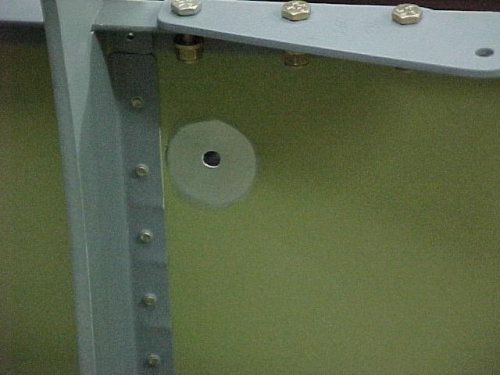
Inside the side skin...the primer is removed and sanded in preperation for pro-seal.
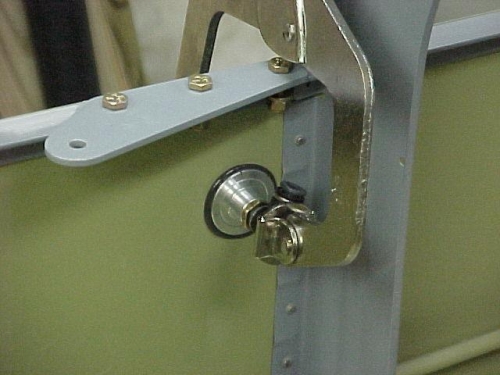
The static port is attached with pro-seal and clamped in place till it sets.
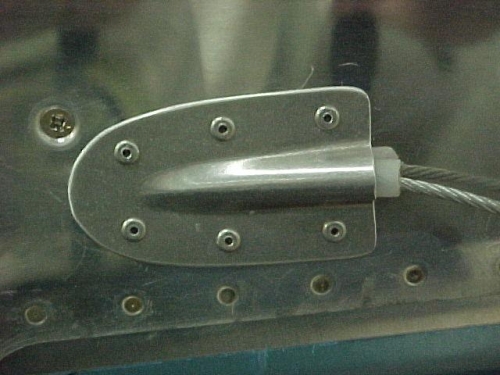
The finished rudder fairing riveted on the side skin....looks good!